


Creating your own A&D preset materials
How the heck did I create my own templates? It's a fairly simple process, but it can be rather confusing due to the various path locations of the required files.
Before I explain how, let's get the standard disclaimers out of the way first:
YOU PERFORM THESE EDITS AT YOUR OWN RISK.
MAKE A BACKUP OF YOUR FILES BEFORE MODIFYING ANY OF THE FILES I'M ABOUT TO DISCUSS.
Hopefully you know how to load & edit .mat files with the material editor in 3dsmax. If you don't, spend some time reviewing the help file for instructions on the process before starting this "tutorial".
- How to create your own custom A&D presets -
 There are really two types of A&D presets. Presets that run from a script, and ones that are pulled from the mrArch_DesignTemplates.mat file. I'm going to discuss the method for using the mrArch_DesignTemplates.mat file because it's fairly easy to setup your pre-made A&D materials as templates with this method.
You'll be editing two files.
1. mrArchMaterial.ini
2. mrArch_DesignTemplates.mat
Off the bat, this sounds simple and for the most part it is. But where the confusion comes into play is with the location of these files. The mrArch_DesignTemplates.mat is simple because it's located in the "expected" folder. What I mean by that is it's located in the 3dsmax root folder. Ex: "C:3dsmax9/materiallibraries"
The confusion sets in when dealing with the mrArchMaterial.ini file. You'll find a mrArchMaterial.ini file in the following path: "C:3dsmax9/plugcfg"
However, this is NOT the file that we want to work with. The mrArchMaterial.ini file that we need to use is located in the much dreaded "Documents and Settings" path. I found mine in this path:
"C:|Documents and Settings|NAME|Local Settings|Application Data|Autodesk|3dsmax9 - 32bit|enu|plugcfg"
Ok, now that you know which files to use and where the files are, here's the simple part of the process...creating a new A&D template.
1. Start 3dsmax9 and make sure you have mental ray set as the renderer.
2. Open the material editor and load the mrArch_DesignTemplates.mat file.
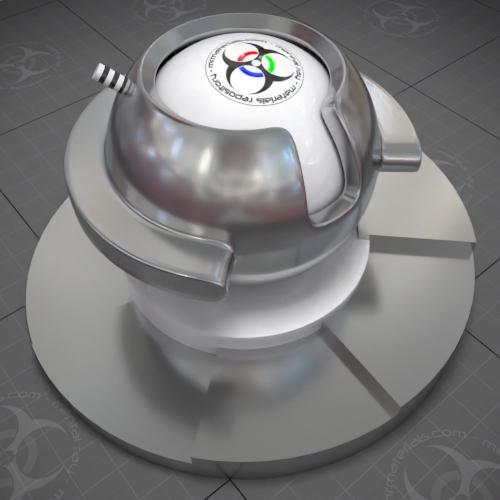
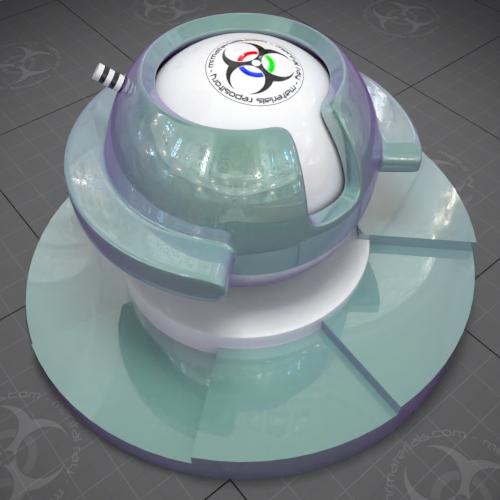
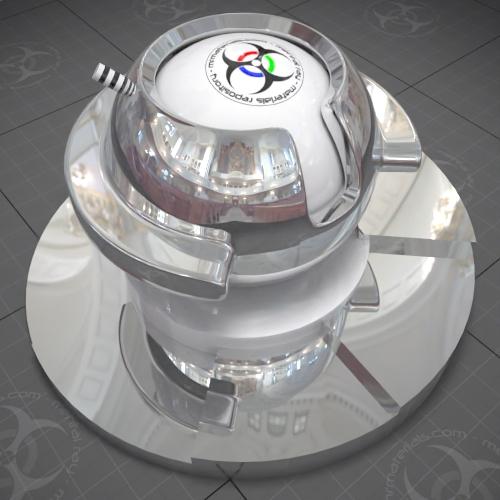
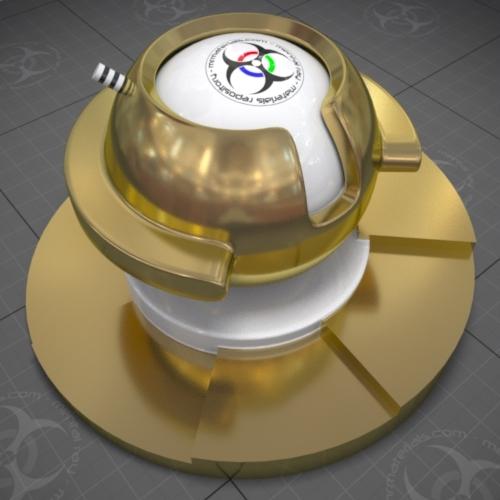
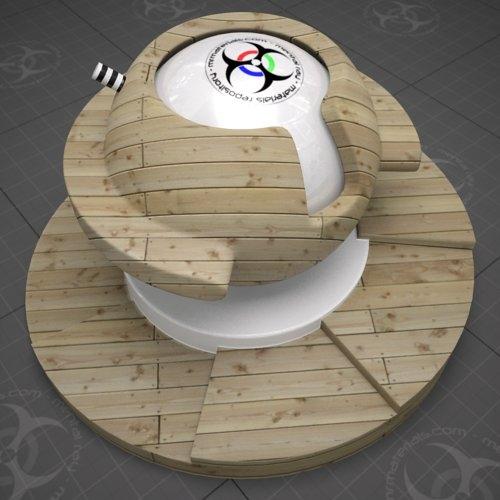
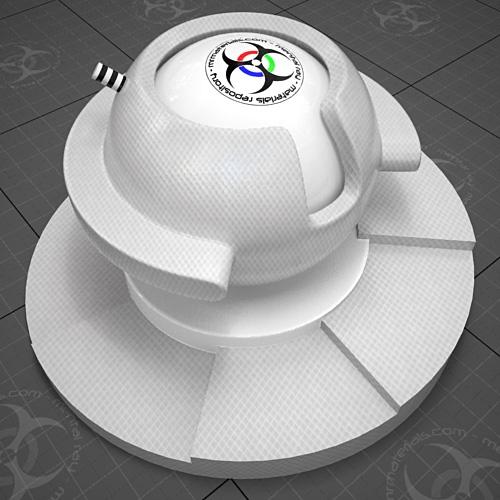
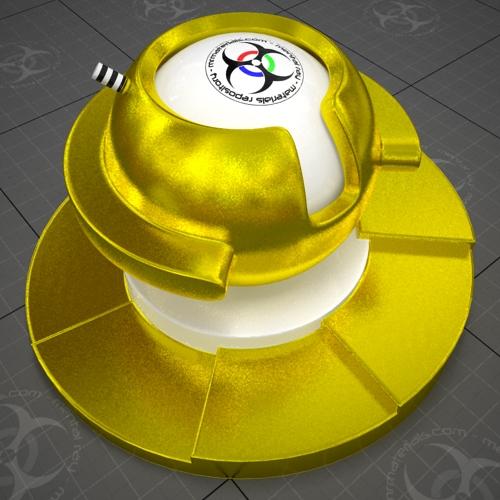
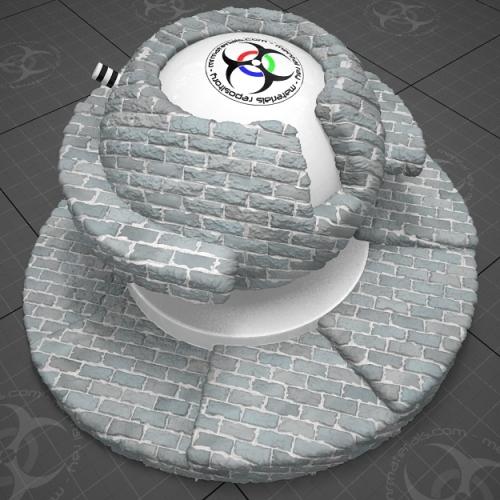
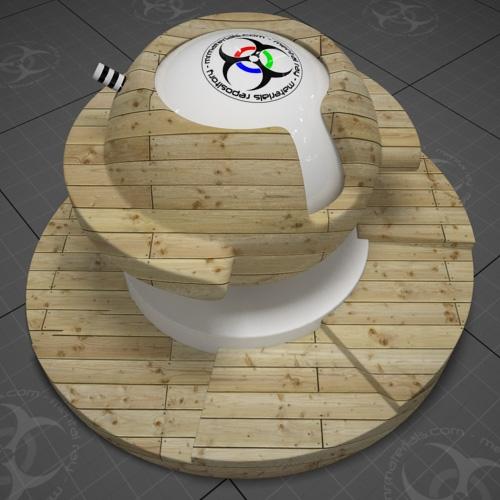
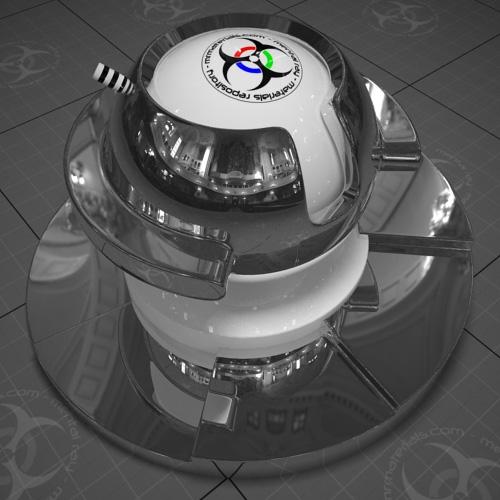
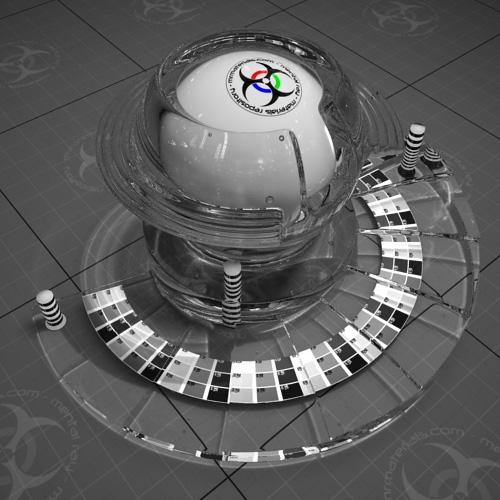
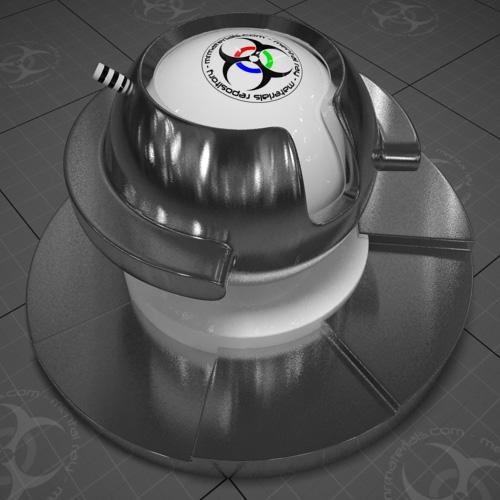
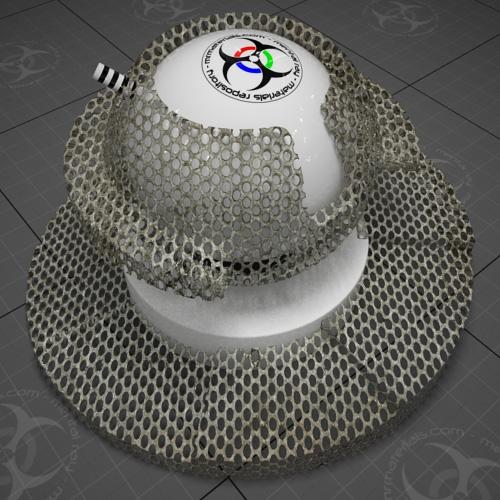
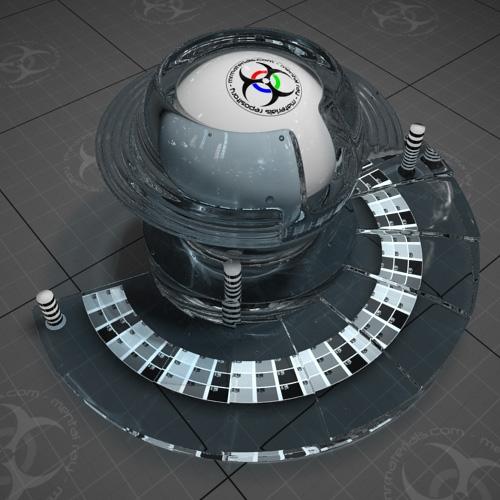
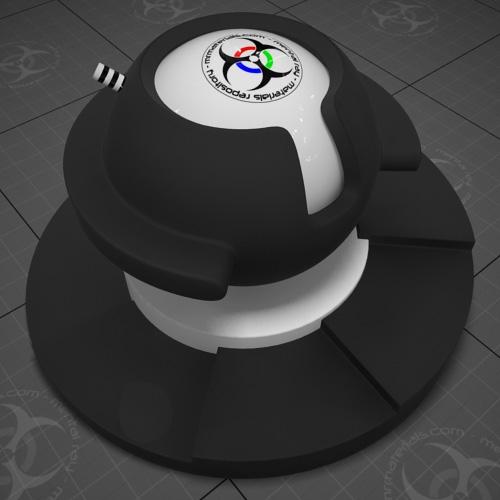
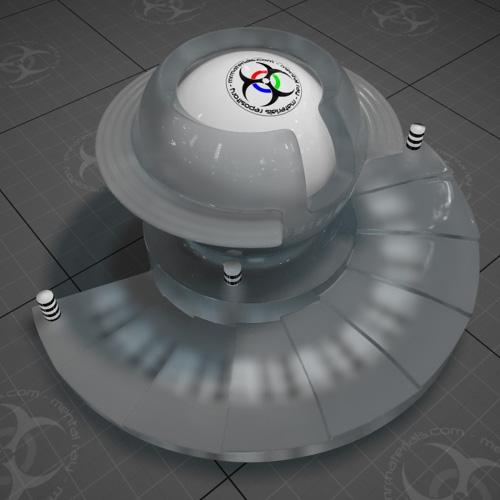
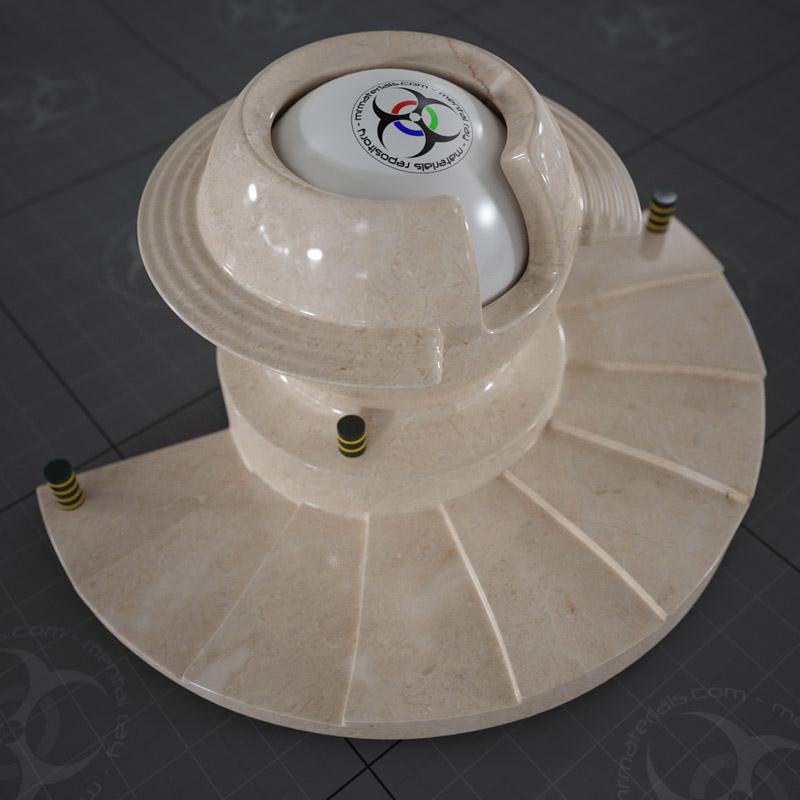
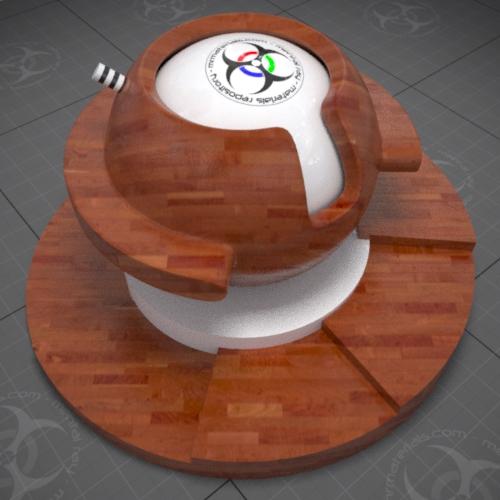
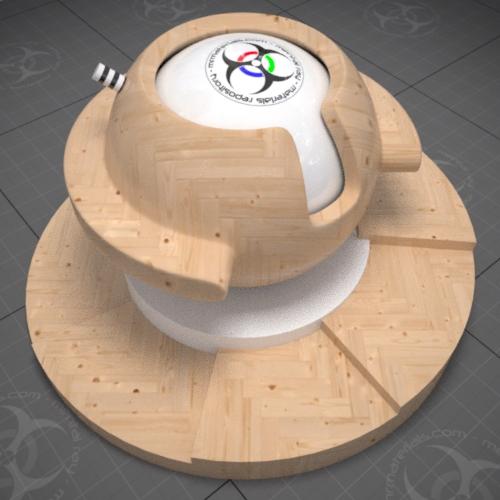
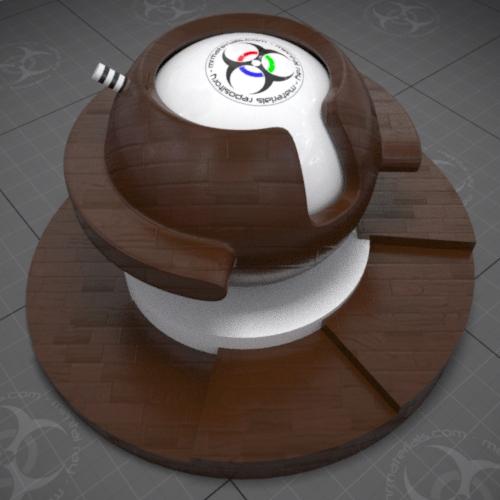
3. In the material editor, create a new A&D material. Name this material "My_Material" without the quotes. You don't have to use this specific name on your files, I'm just using it for this tutorial.
4. Add a noise map to the diffuse color swatch and copy it to the bump map of the material.
5. Save this material to the mrArch_DesignTemplates.mat file by using the "put to library" button on the material editor. It will ask you to confirm the name, just hit ok.
6. Open your mrArchMaterial.ini file and add your material by adding the following text:
"[. My_Material]
Desc=My first template with noise map.
Script=MeditUtilities.Set_mrArchTemplate_ActiveMaterial_FromMaterialInMatlib mrArchTemplate_ActiveMaterial "My_Material" -- LOC_NOTES: do not localize this"
Where do you add this text? Well you'll want to add them anywhere under the "[{Finishes}]" tag. You can create your own custom headers or place them under any of the existing headers such as "[{Finishes}]" or "[{Transparent Materials}]".
That's it. So in a nutshell you take your custom A&D materials, save them to the mrArch_DesignTemplates.mat file and then modify the mrArchMaterial.ini to add the names & description of each custom material.
I'll supply my edited files for those people like myself that liek to have a visual reference for things like this.
My files:
My Templates
EDIT: CRAP, I just noticed that I misspelled porcelAin...oh well. Blog entries may be discussed in the 3DA forums HERE