


Fix the black edges on your glass material (and other stuff)
Recently Zap gave me some advice on a question I had about glass materials in mental ray / 3ds Max. It was quite helpful so I thought I'd pass the info along.If you've ever been frustrated with having black edges/faces on your glass materials, this may help. Now of course the most important issue with glass (or anything reflective) is to ensure you have a nice environment for it to reflect. If you leave the default black background then you can't really be too surprised when your glass renders black.
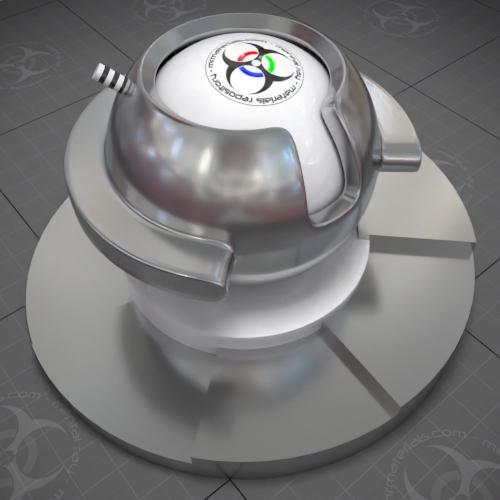
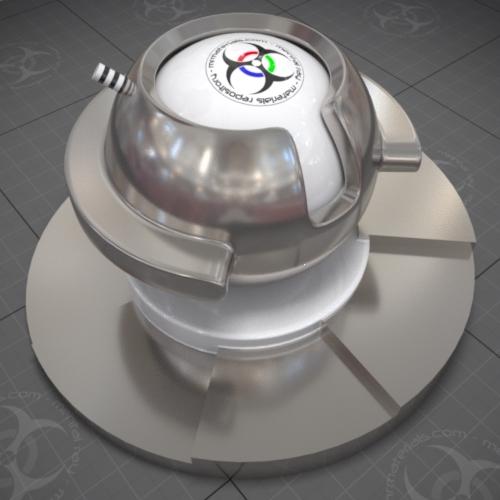
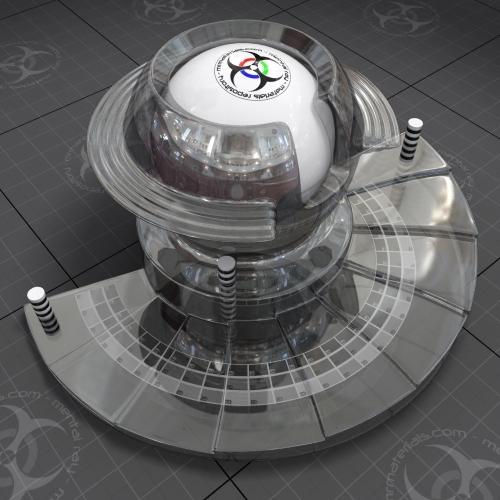
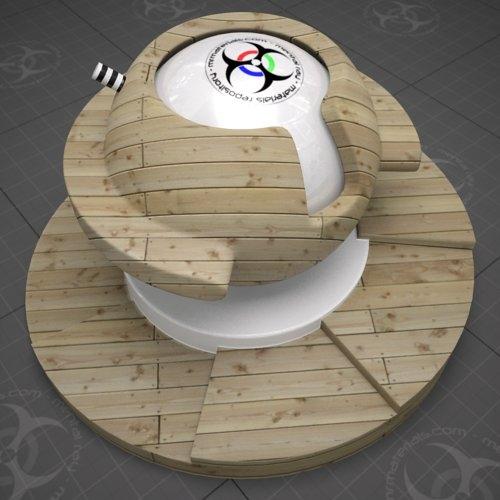
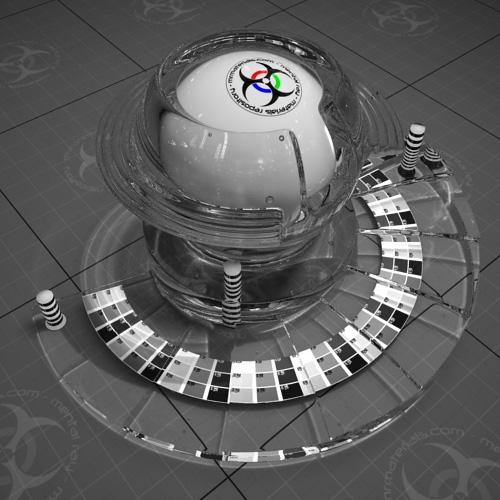
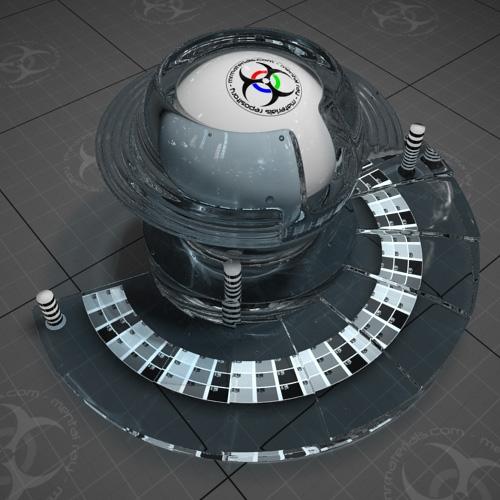
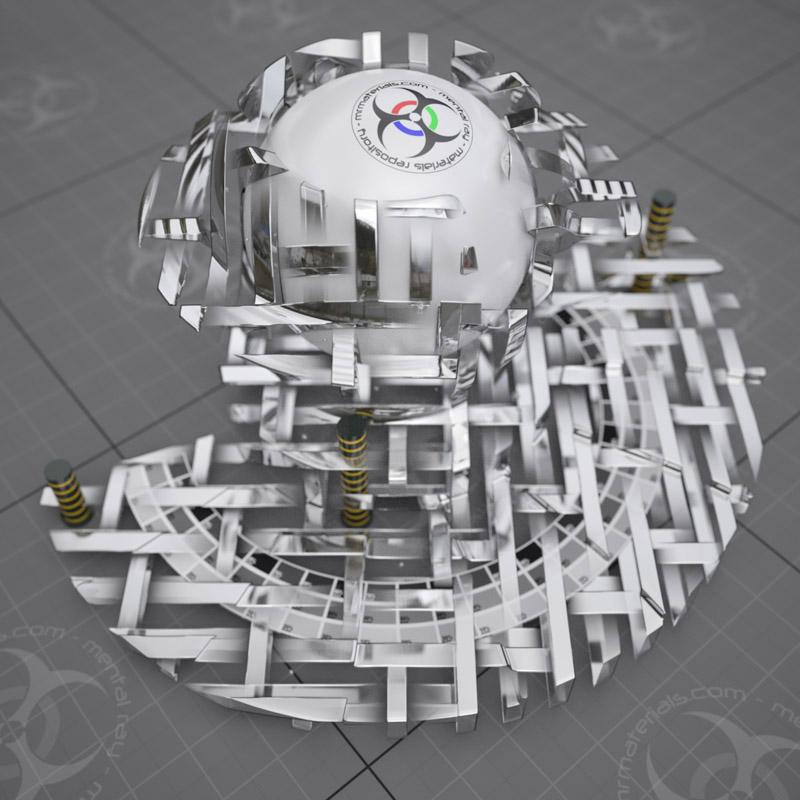
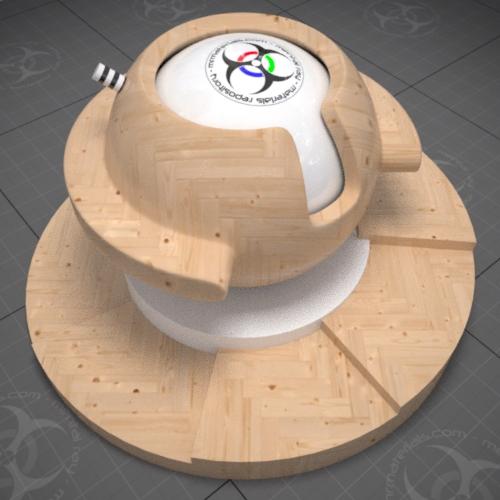
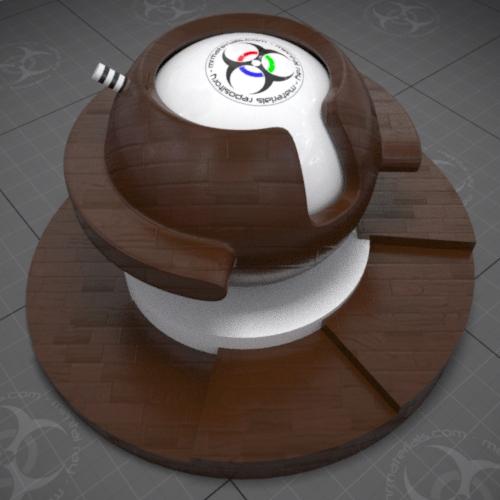
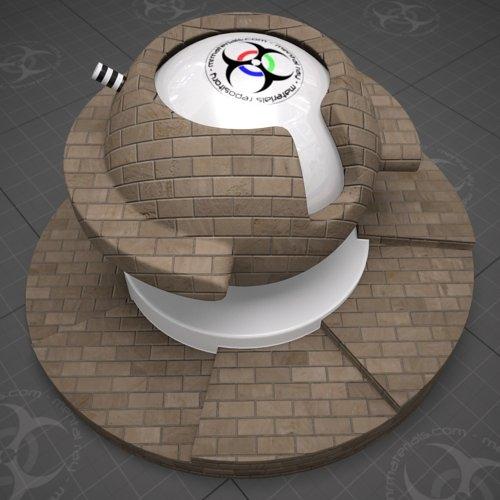
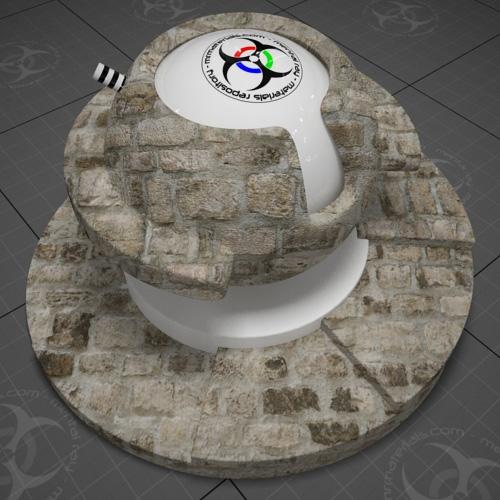
Here's my starting render using an A&D glass material:

Notice the black edges? It appears as though I have a black environment right? Well, it's not...the scene is configured with a HDRI environment which is visible in the glass (where it's not black anyway). Zap explained the reason for this reflection problem is due to TIR (total internal reflection). Rays at certain angles trying to escape a denser medium to a thinner medium run at such an angle that they do not escape at all. Instead they reflect 100%. I.E. rays that "graze" the surface from the inside will bounce. These rays keep bouncing and must escape somewhere at an edge which is not at a grazing angle.
Here's the default trace depth settings:

Now, when using the A&D material you also have to remember that it contains it's own trace depth settings. Therefore you have to consider the interactions between the A&D trace depth settings & the raytrace trace depth settings. The trace depth settings in the render setup are global controls, whereas the trace depth settings on the A&D material are local to that material.
Here's the default trace depth settings on the A&D solid glass preset:

Notice how the solid glass A&D preset has a default reflection/refraction trace depth setting of 8. But, the default raytrace trace depth setting is 6. Therefore even though the A&D material is configured with a trace depth of 8 it is limited to 6 by the default raytrace trace depth setting of 6.
Simply put, open/cut faces on meshes with glass materials may require a fairly high trace depth settings to render clearly. One thing that I had trouble grasping was that the black edges are a REFLECTIVE issue and not a refractive issue. So I normally use a higher Max. Reflections value than Max. Refractions value. Keep in mind that both can turn your glass black if they aren't high enough. And don't forget to increase your Max. Depth settings because that can also limit the Max. Reflections & Max. Refractions settings.
Clear as mud? Perhaps the examples below will help:
Ray Tracing Settings
Max. Depth: 6
Max. Reflections: 8
Max. Refractions: 6
In the example above the Max. Reflections value is set to 8. However the Max. Depth setting will only allow 6.
Ray Tracing Settings
Max. Depth: 6
Max. Reflections: 6
Max. Refractions: 6
A&D material settings:
Reflections Max Trace Depth: 8
Refractions Max Trace Depth: 8
In the example above, the trace depth settings in the A&D material will be limited to 6 by the "global" ray tracing trace depth settings of 6.
TIP: If either of the Max Trace depth settings in the material are set to 0, it will disable the local limiting and only use the global setting.
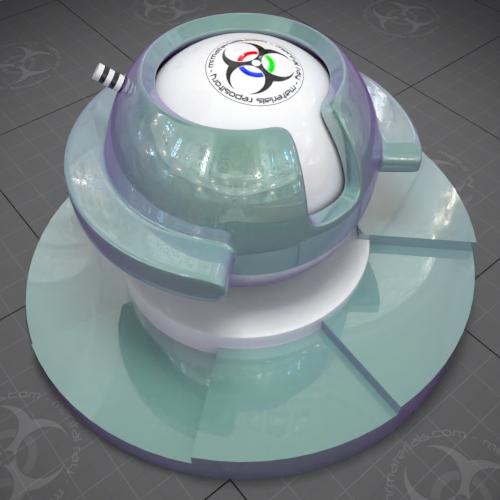
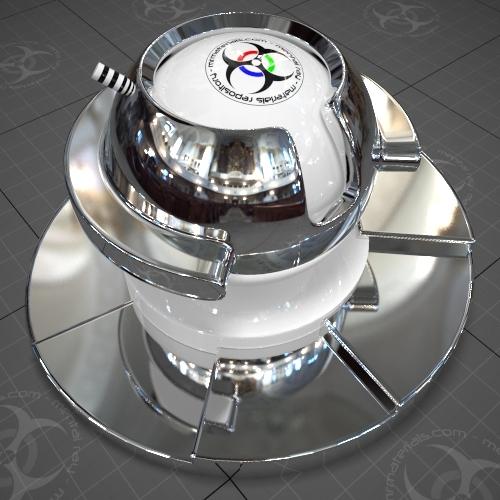
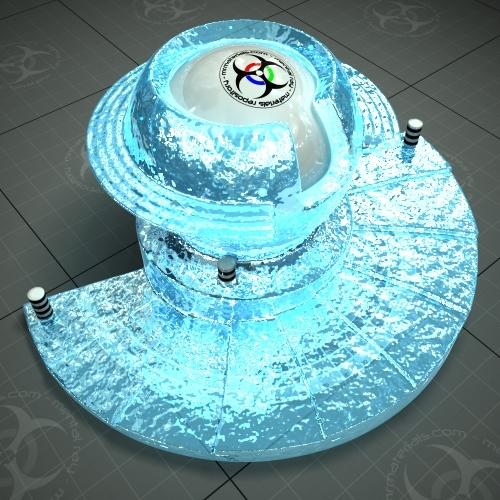
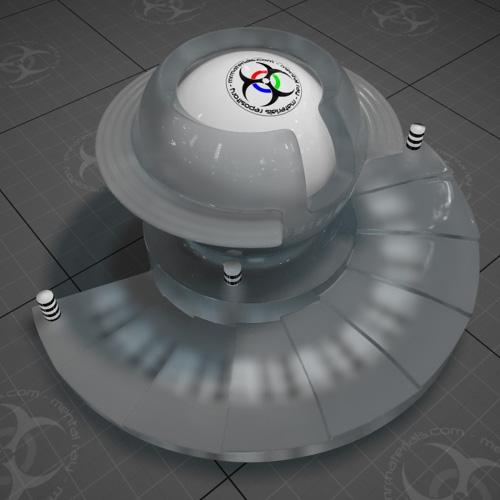
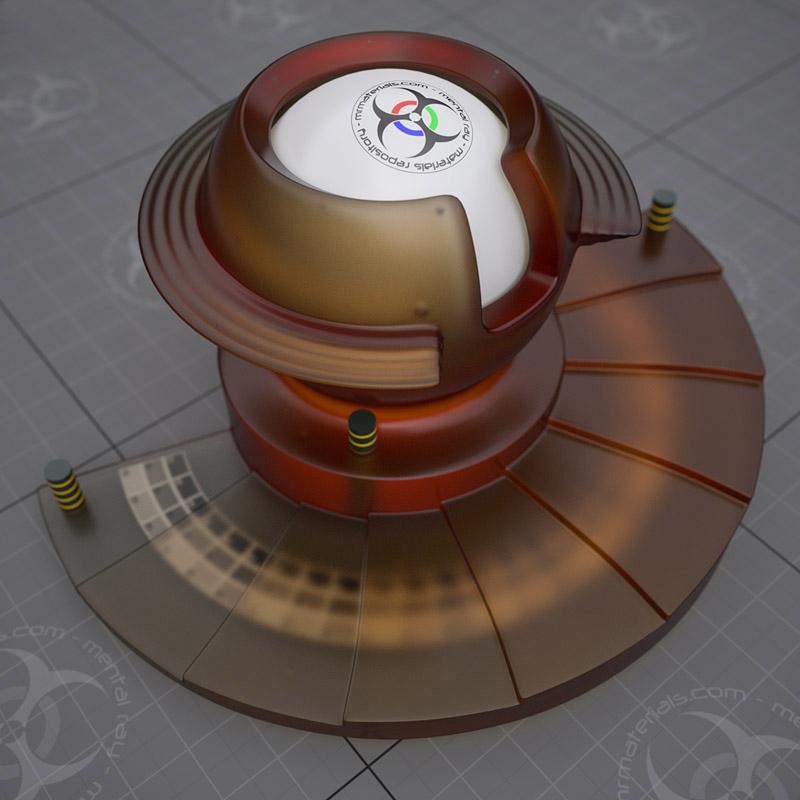
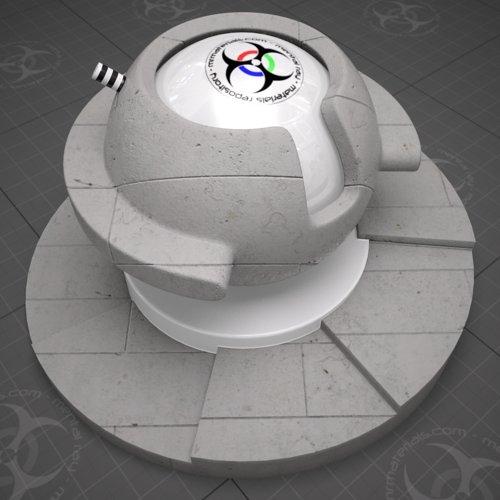
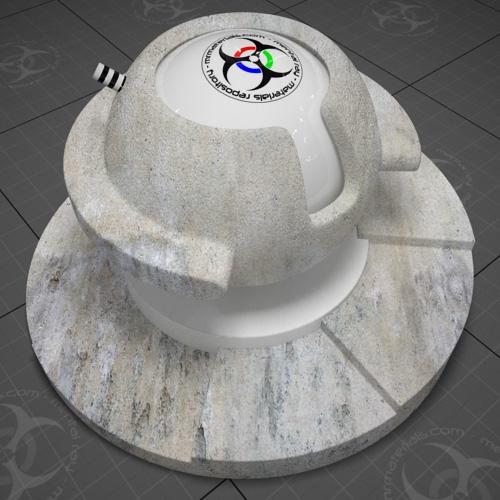
FINALLY, here's my adjusted settings in the test scene:
Ray Trace settings:

A&D material settings:

Resulting render:

IMPORTANT NOTE: Using higher trace depth settings will increase your render times. So you'll want to use the absolute minimum value possible that clears the black areas on your glass materials. The resulting performance hit of using high trace depth settings isn't terribly bad since the A&D material primarily uses importance thresholds to reject rays, which can happen quite fast (a few bounces) for surfaces with low reflectivity.
Again, many thanks go to Zap for explaining this issue!
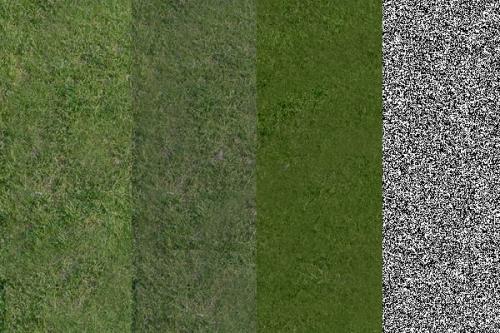
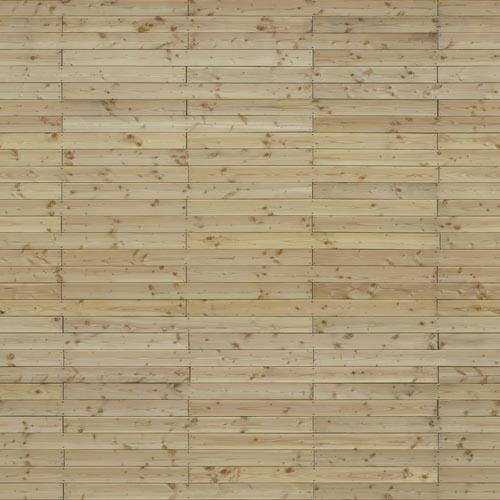
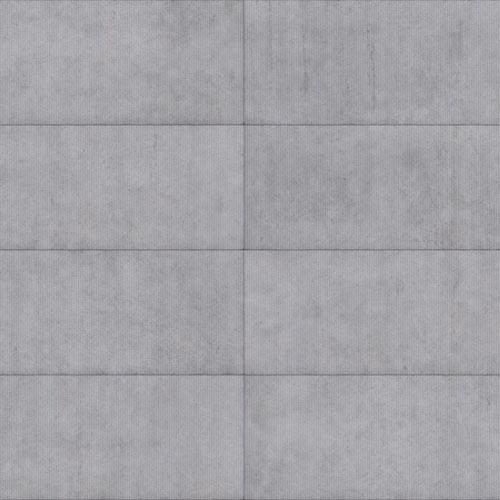
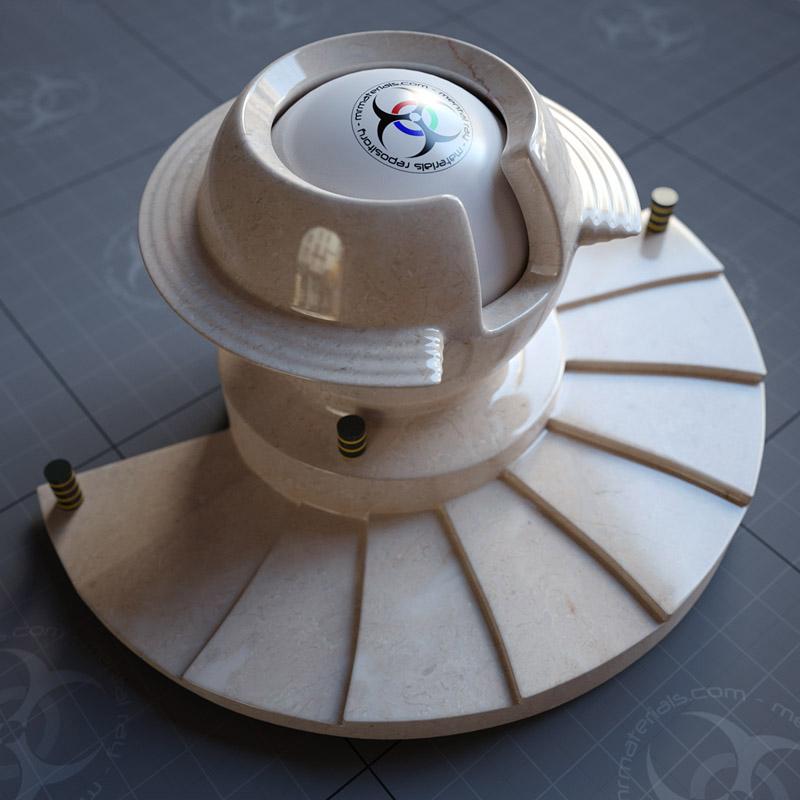
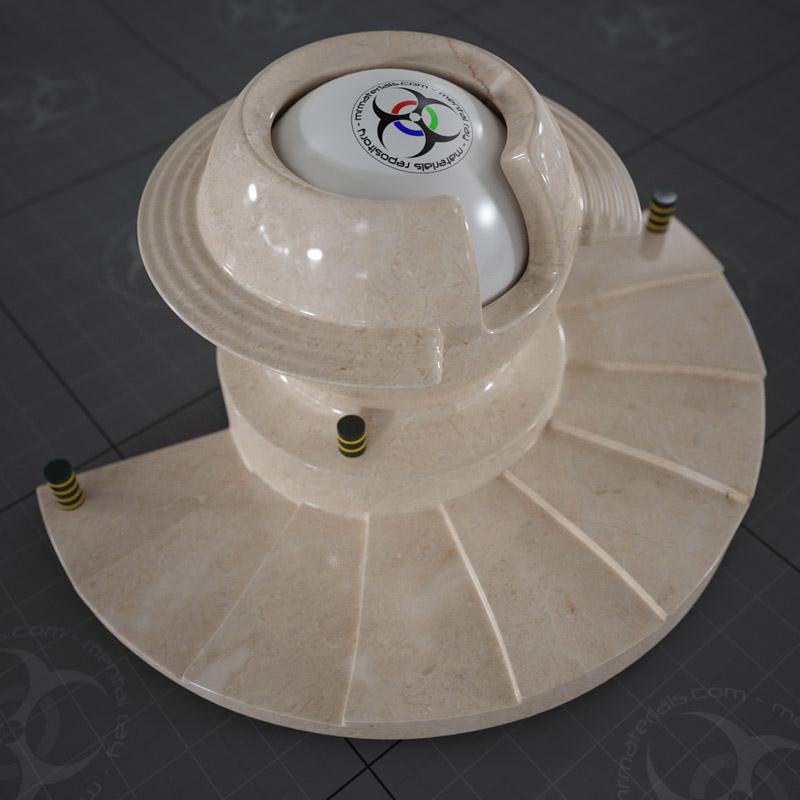
Now with that out of the way, here's just some random test renders that didn't fit anywhere else!
(click to enlarge)

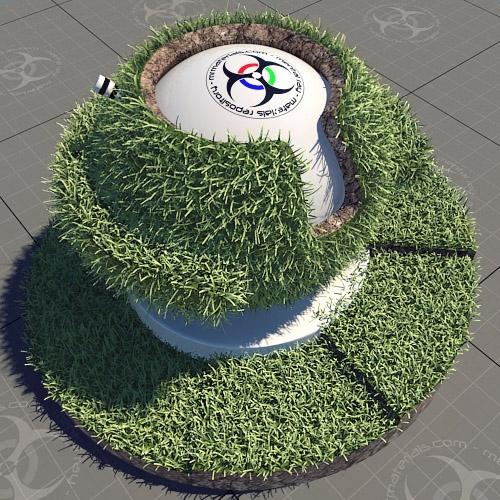
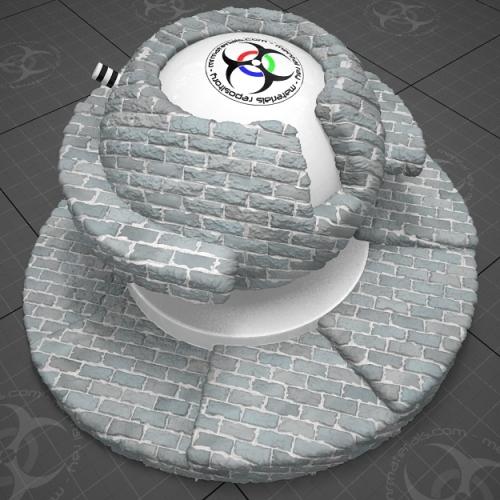
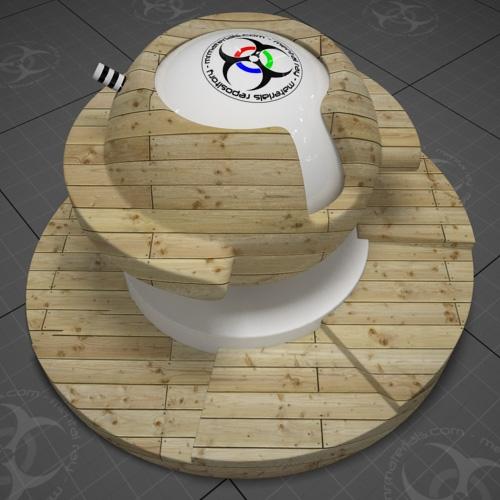
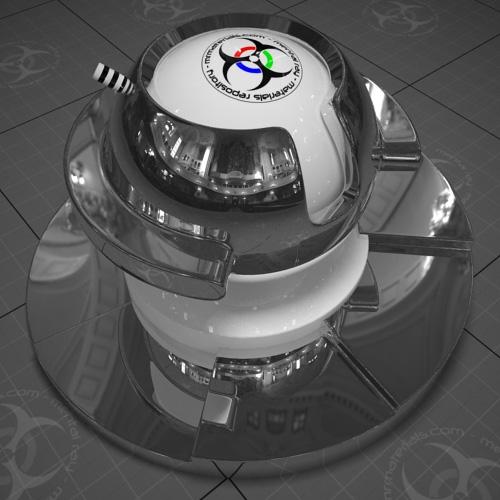
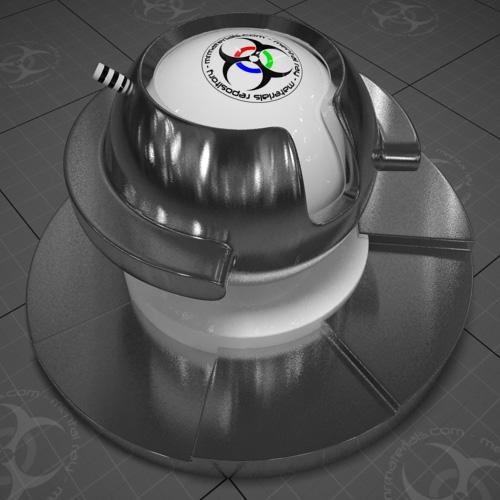
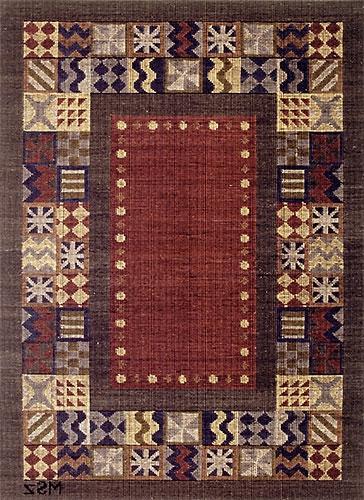
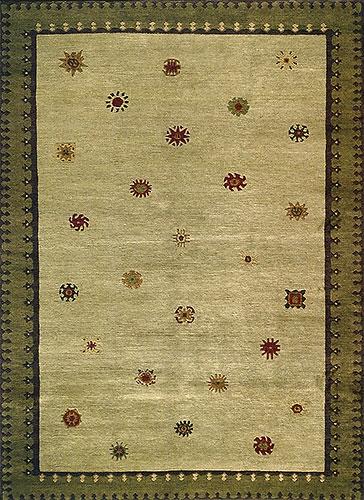
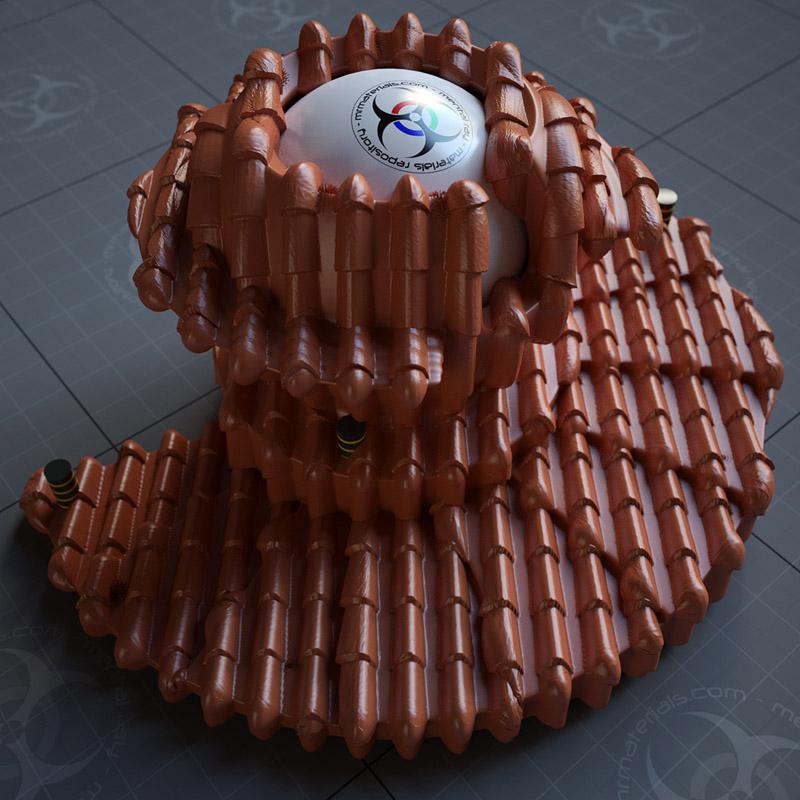
Simple application of the hair/fur modifier to my material lab test object to make a snazzy polar bear rug "material".

(click to enlarge)
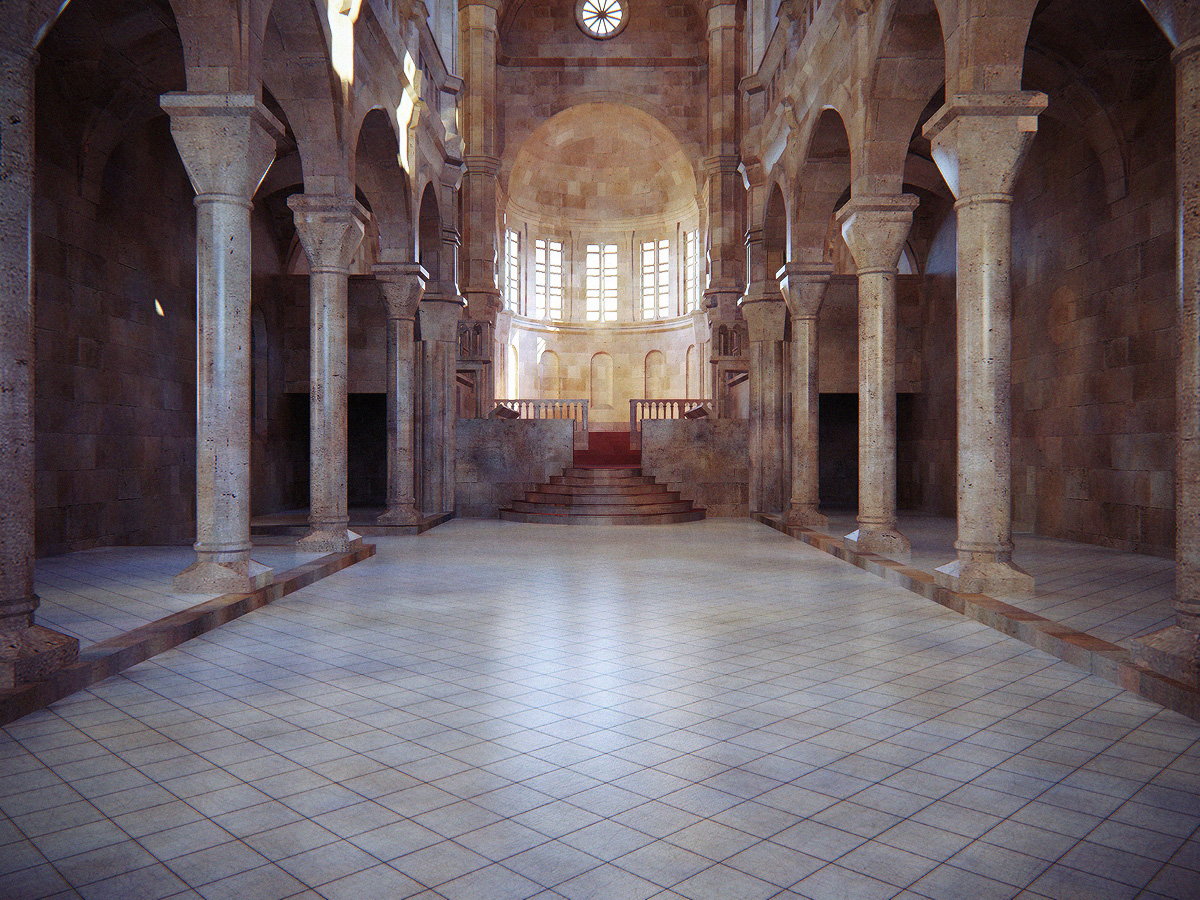
This was a quick/dirty test scene using the Sibenik Cathedral model by Marko Dabrovic. I didn't use high enough FG settings so it looks a bit "dirty"...hence it didn't make it into my online gallery. Here's a link to the site if you'd like to try the model or view other's rendering results:
http://hdri.cgtechniques.com/~siben...dex_sibenik.htm
(click to enlarge)
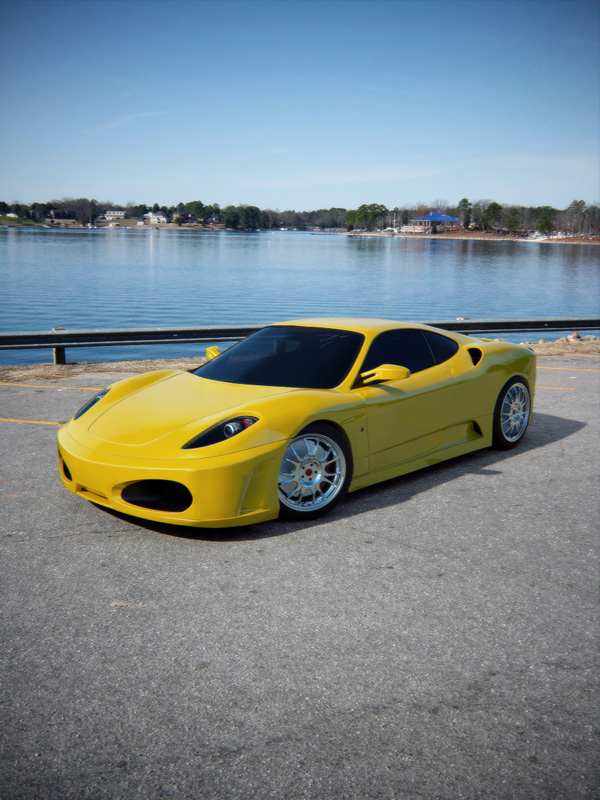
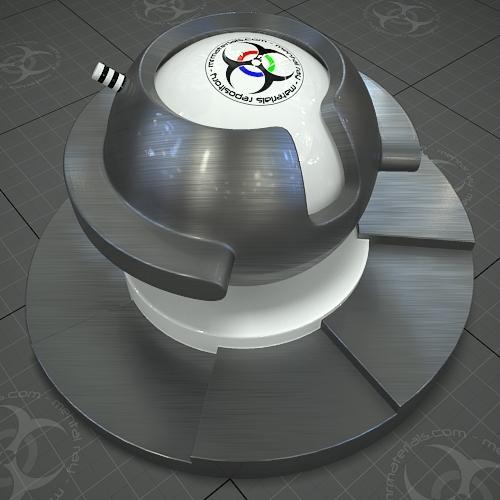
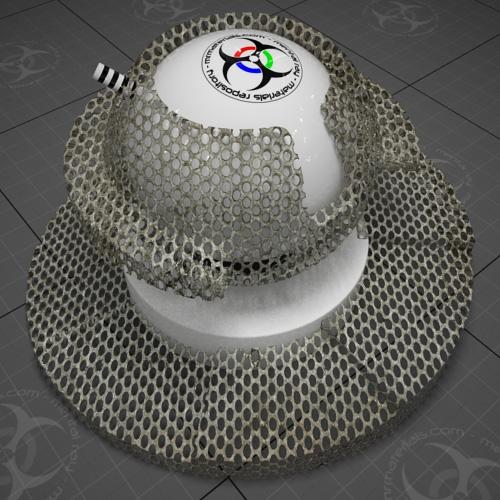
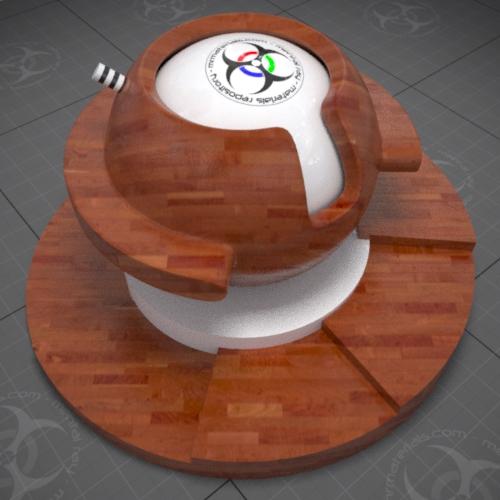
Just another production shader test using the same scene as the camaro render in my gallery.
(click to enlarge)
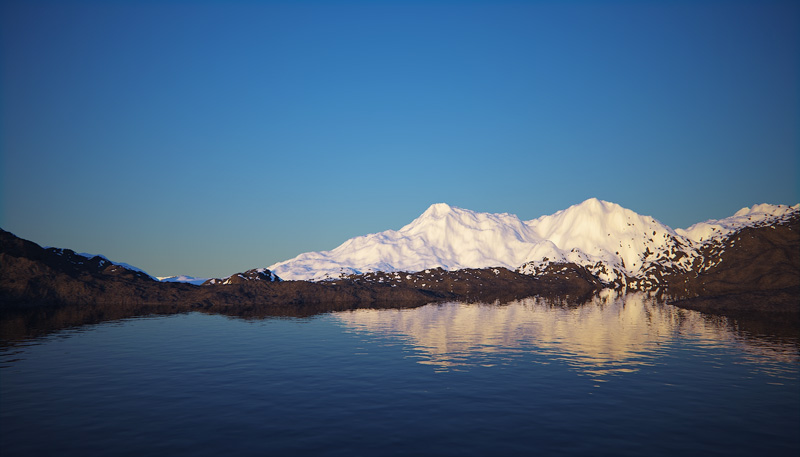
Another displaced terrain test scene. Blog entries may be discussed in the 3DA forums HERE