


How to: Unhide & use the round corner bump map on various materials
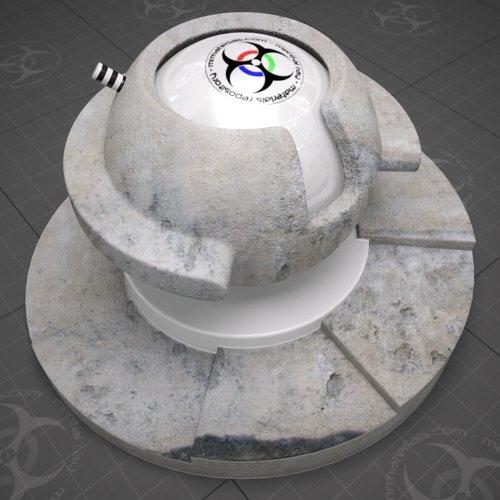
Ever wished that you could take the great rounded corner option from the A&D material and apply it to other materials like the CarPaint material or Fast SSS skin material? Well, good news...you can.First thing you have to do is open your "architectural_max.mi" file in your favorite text editor. Once open, scroll down to the "gui_mia_roundcorners" section and simply add a pound sign (#) in front of the "hidden" command. Here's a visual reference:

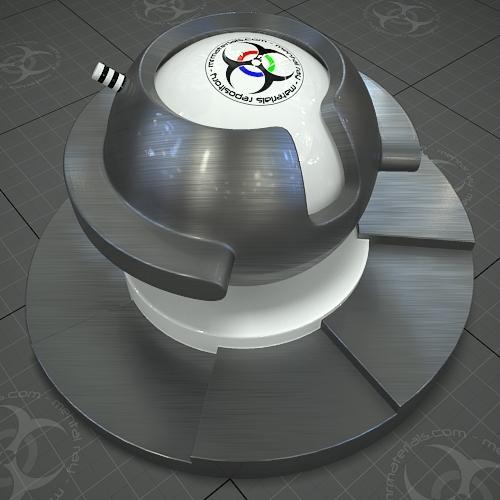
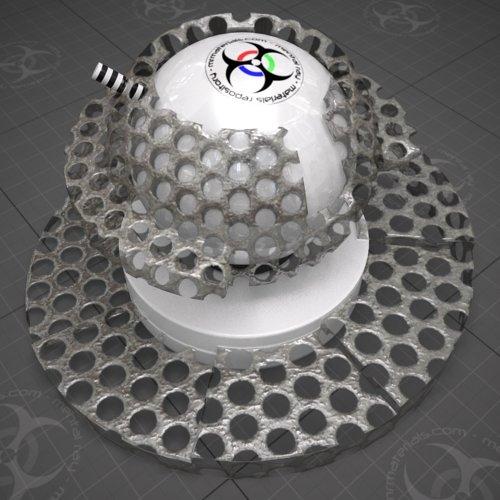
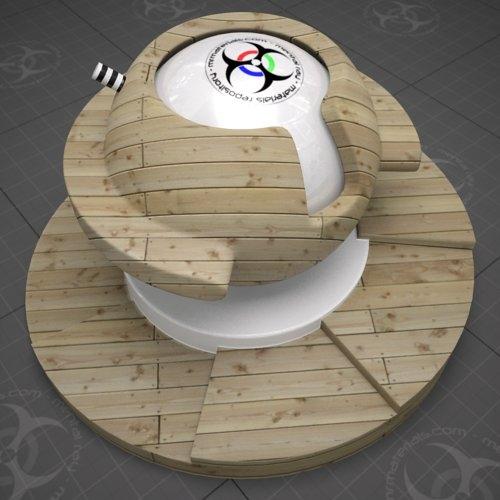
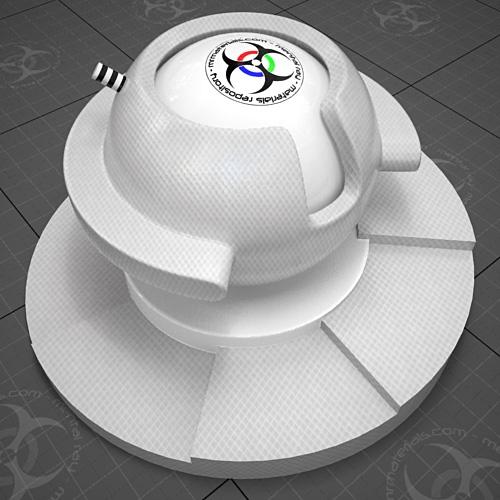
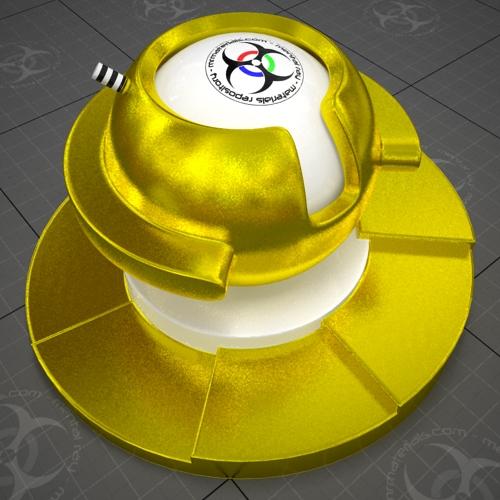
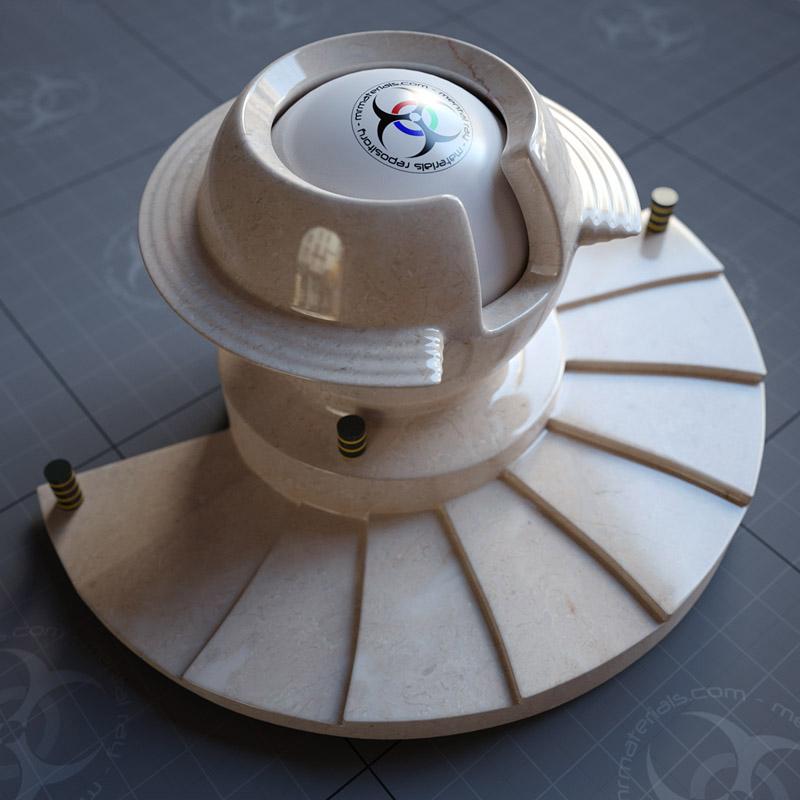
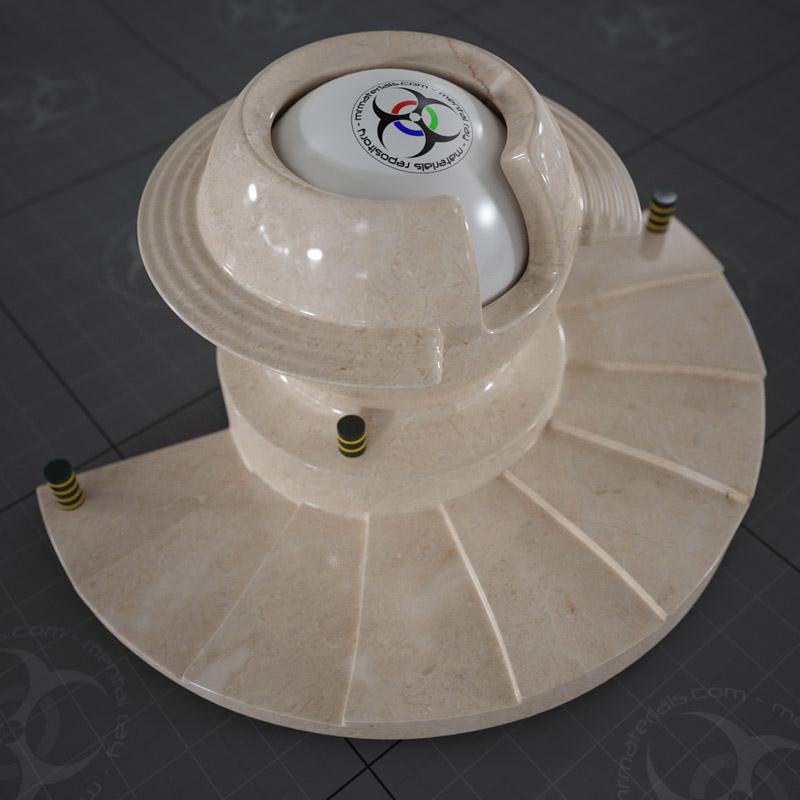
That's it really...simple eh? Well, with that task completed you'll now be able to access the round corners bump map inside 3dsmax (and outside the A&D material). Here's a few examples:
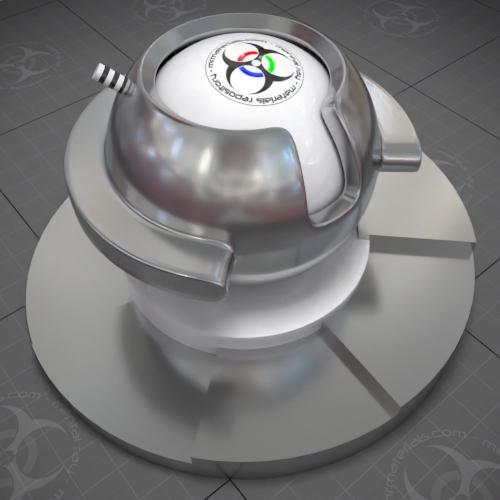
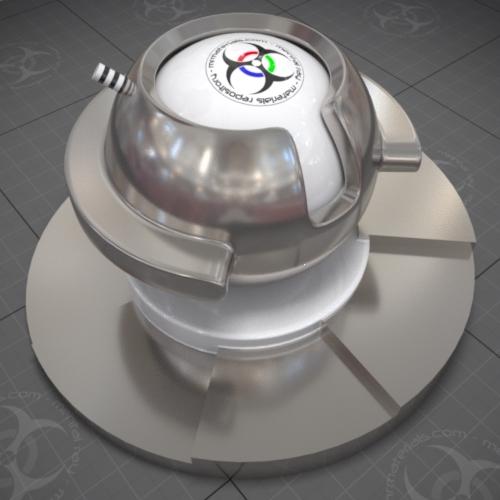
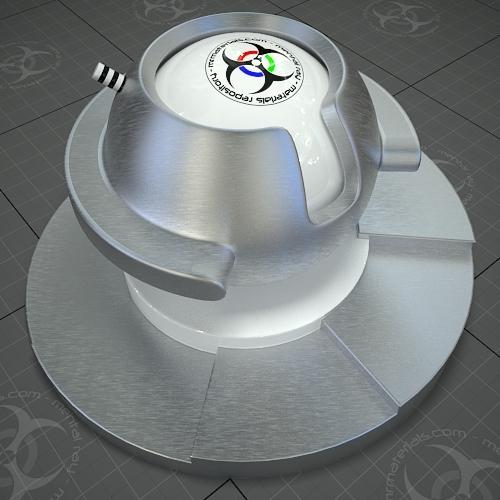
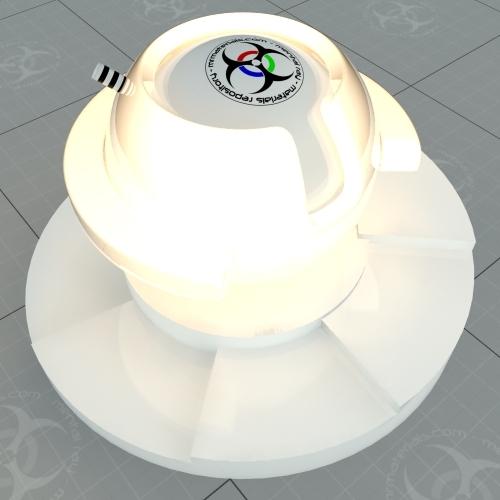
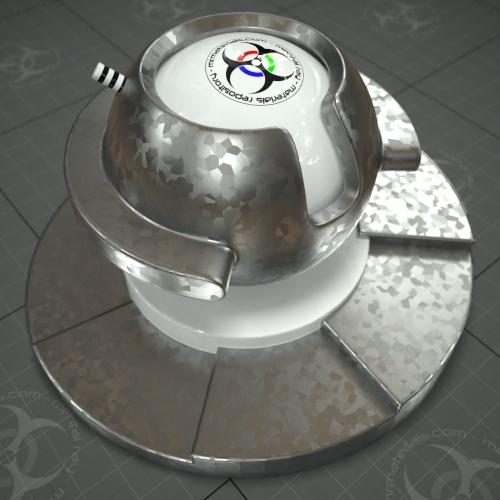
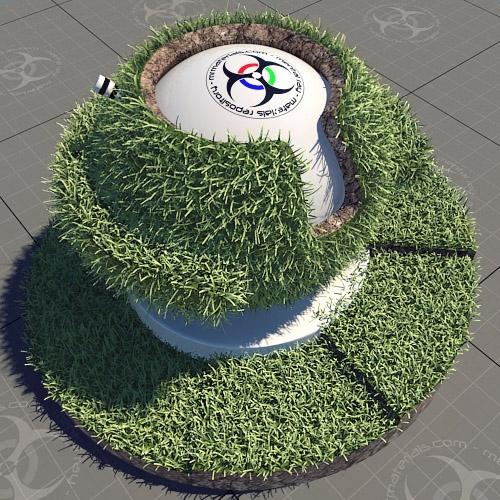
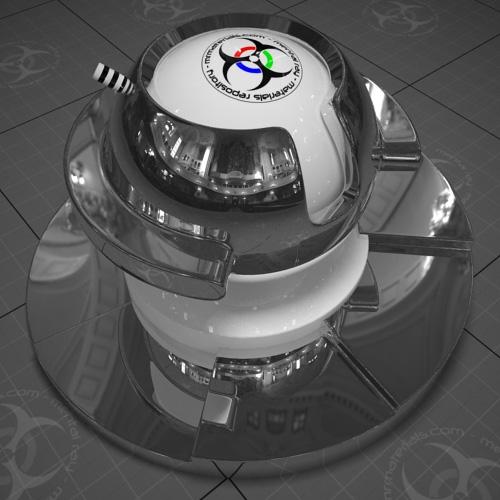
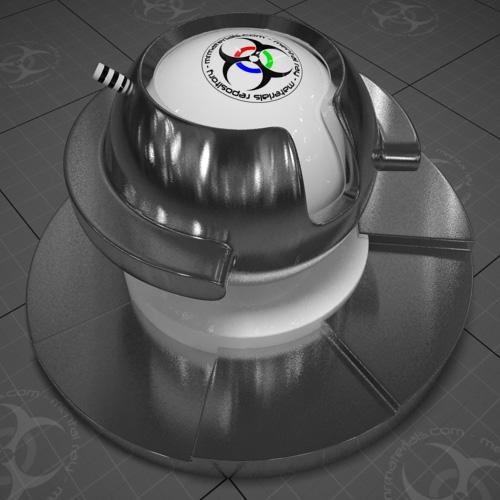
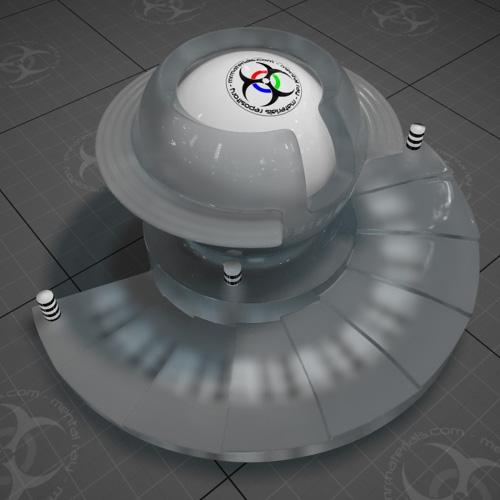
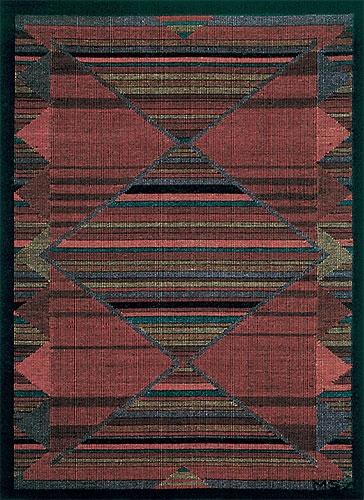
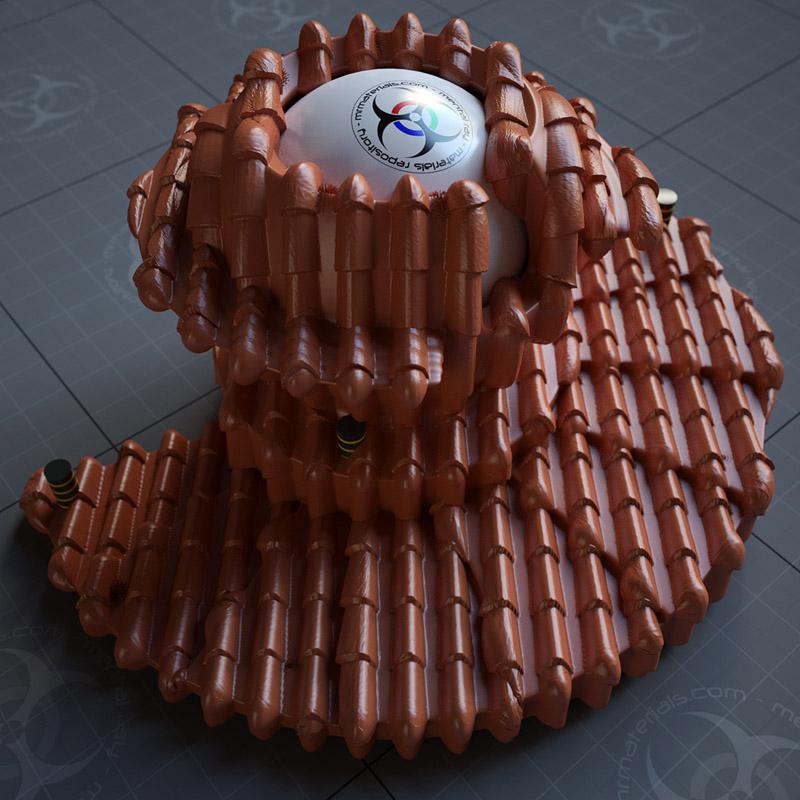
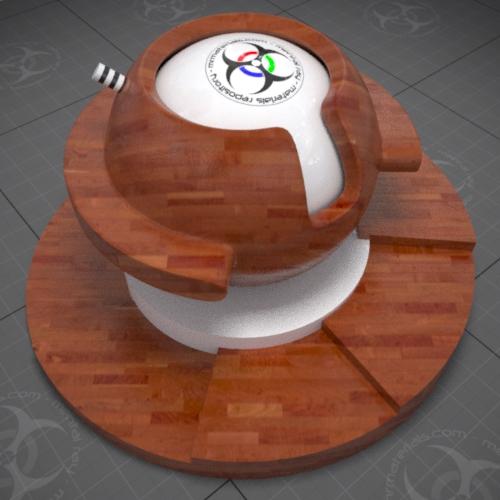
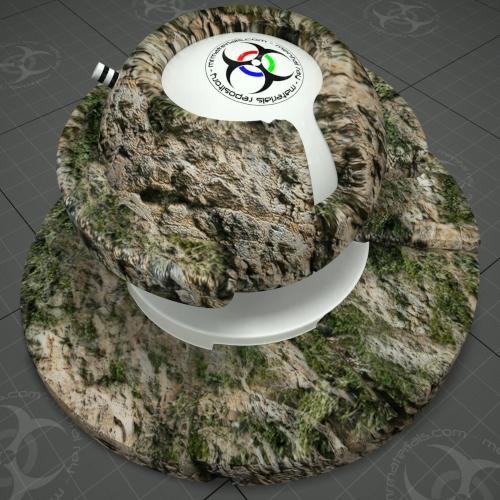
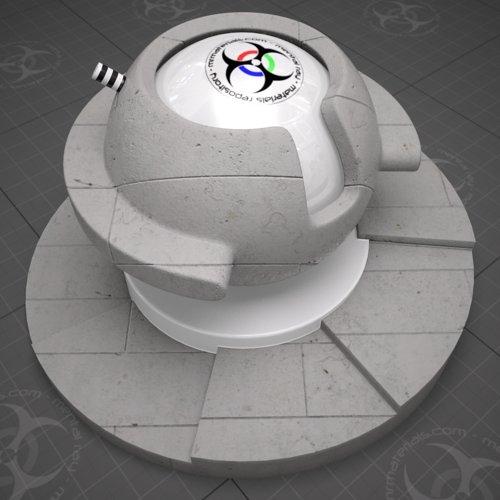
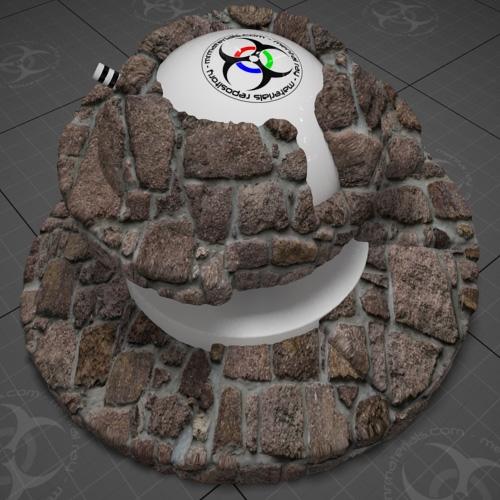
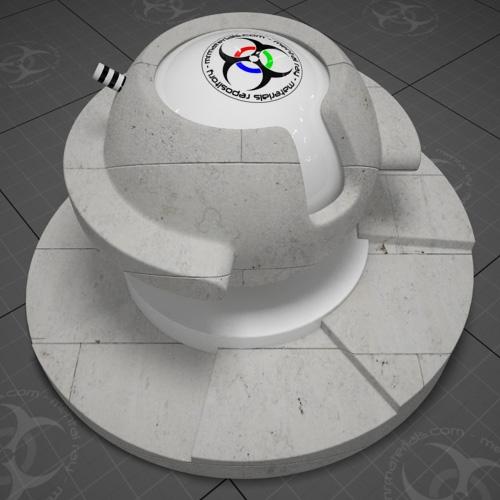
Round Corners applied to the Fast SSS Skin material (click to enlarge)

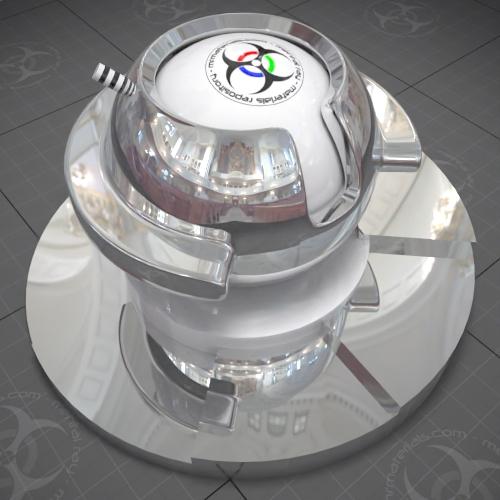
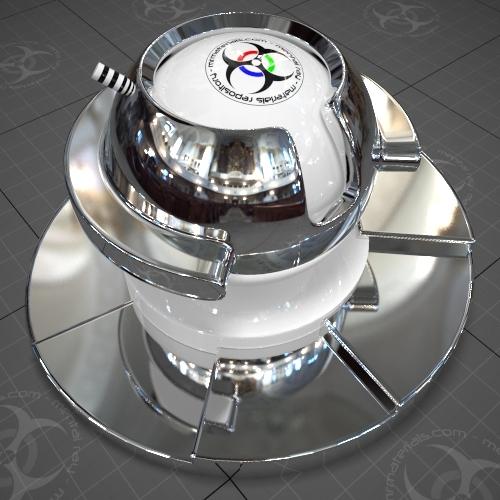
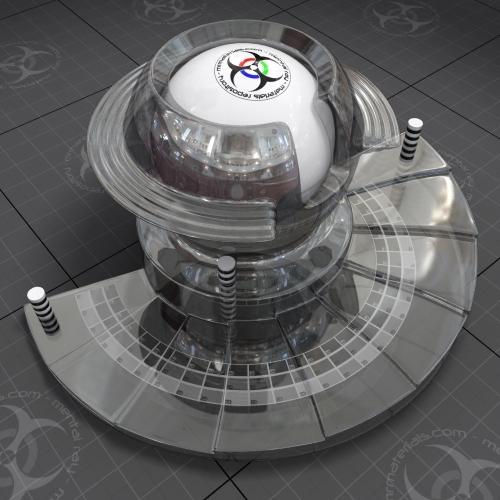
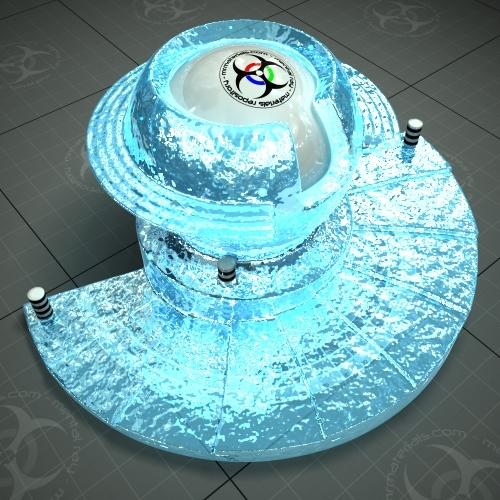
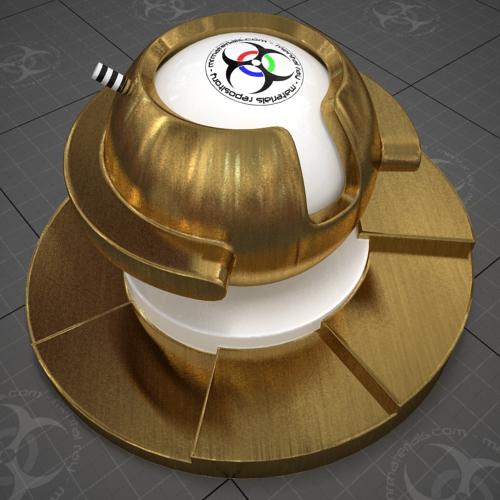
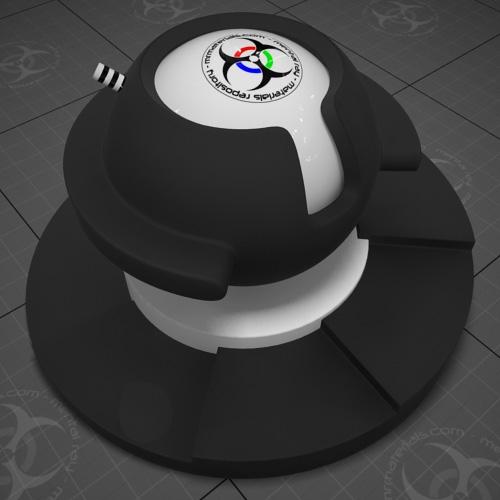
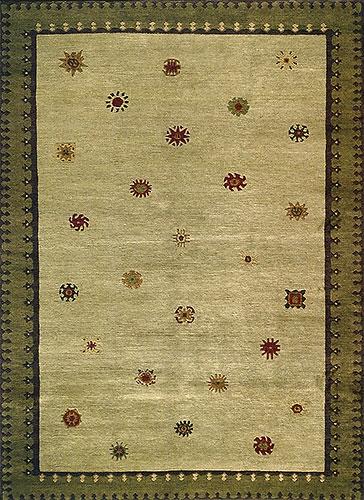
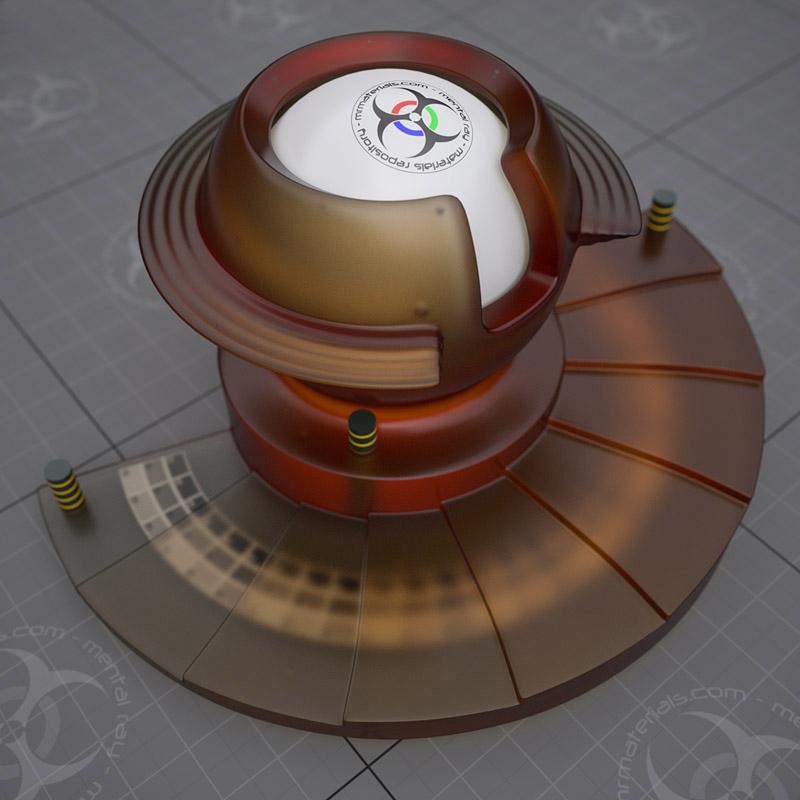
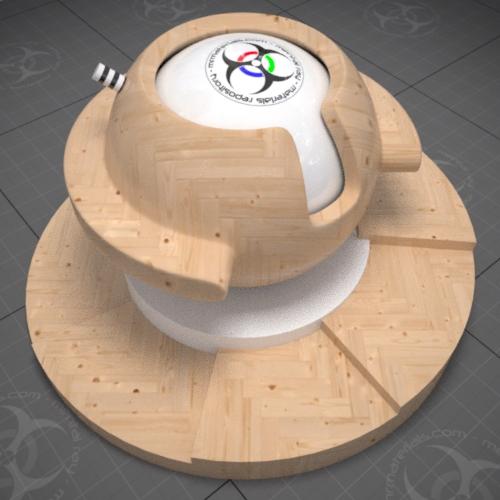
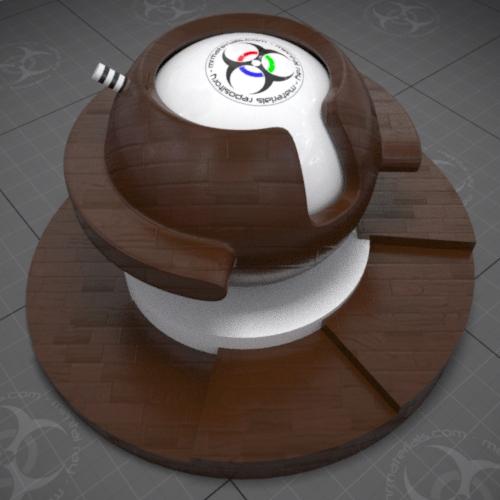
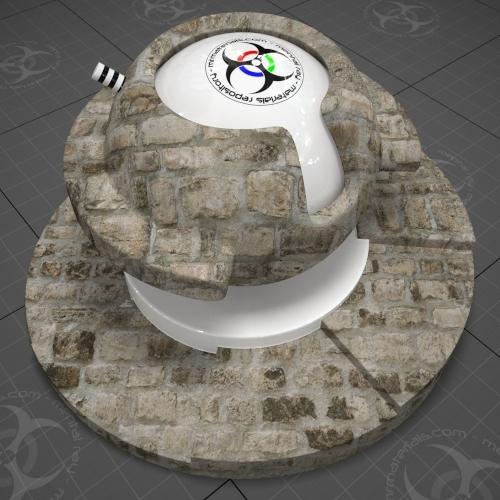
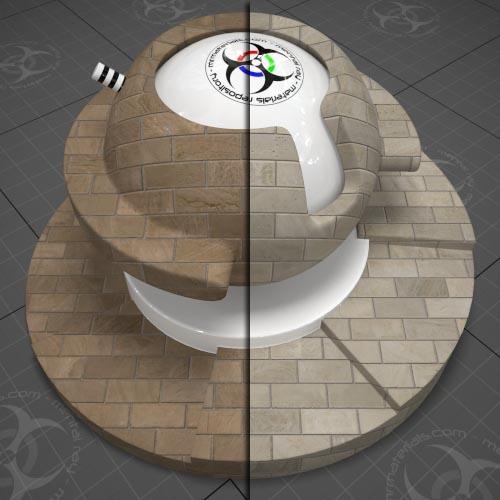
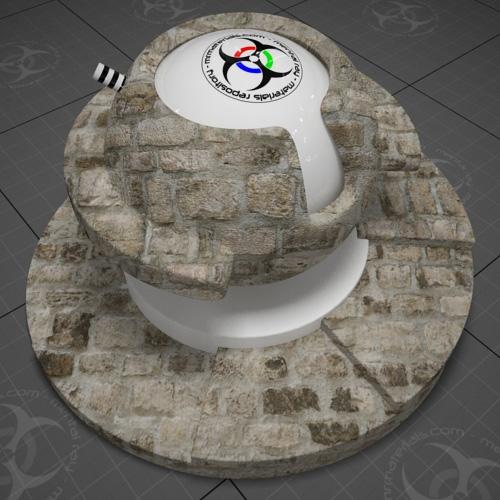
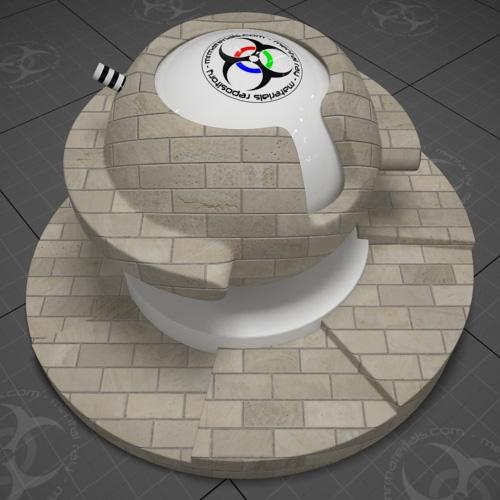
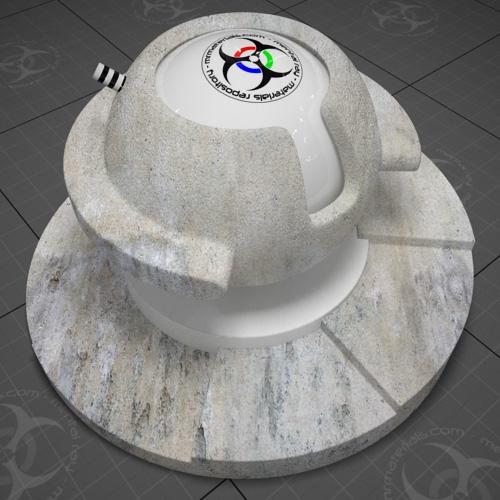
Round Corners applied to the Car Paint material (click to enlarge)

NOTE: Since the Car Paint material does not technically have a bump map I found that I could make it work by using a blend map. Just place your carpaint material in the Material 1 swatch, and the round corners bump map as the mask (and ignore the material 2 swatch). Presto-blammo, you now have rounded corners on your carpaint material.
3ds Max 2010 UPDATE:
In 3ds Max 2010/Design 2010 you can edit the round corners shader definition in the architectural.mi file to remove the word "vector" from the definition like this:
Existing line of code = declare shader vector "mia_roundcorners" (
New code = declare shader "mia_roundcorners" (
After making that change & saving the architectural.mi file then you'll open the architectural_max.mi file and unhide the roundcorners shader as you would any other shader by putting a pound sign in front of the hidden tag. After doing that, it should become visible in your material editor for use in other materials.
More handy plugins:
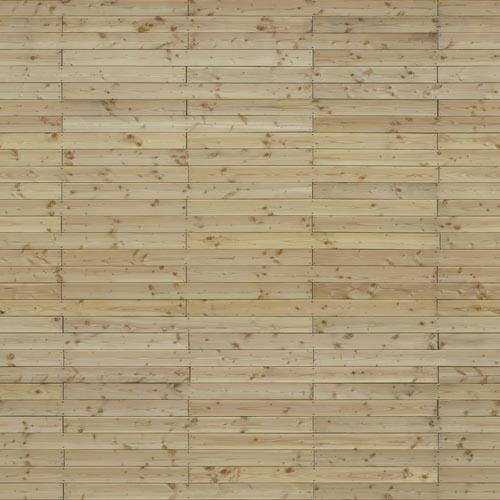
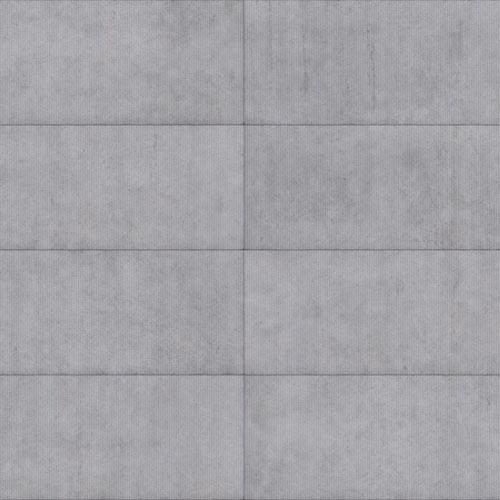
If you haven't tried CrazyBump yet...you're missing out. It can easily make bump/displacement/normal maps for your favorite texture map. If you're like me, you have several nice diffuse maps, but no matching bump/displacement map...now I can quickly make one with CrazyBump!
Website: http://crazybump.com/
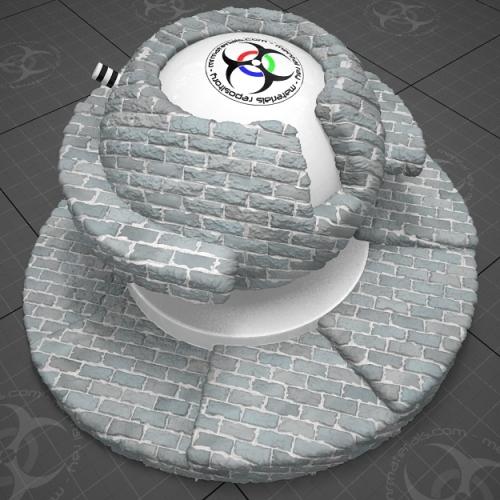
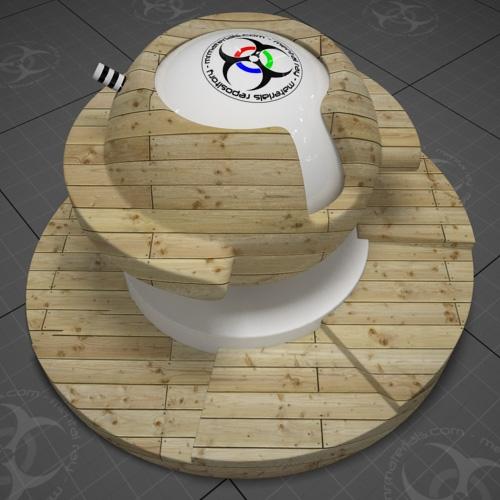
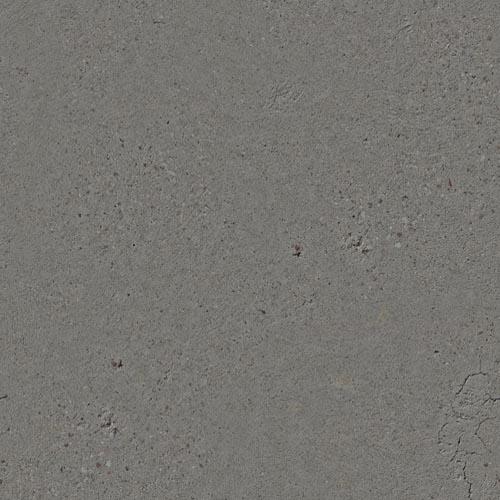
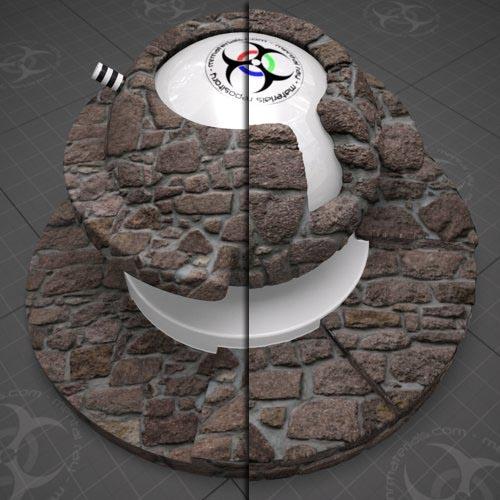
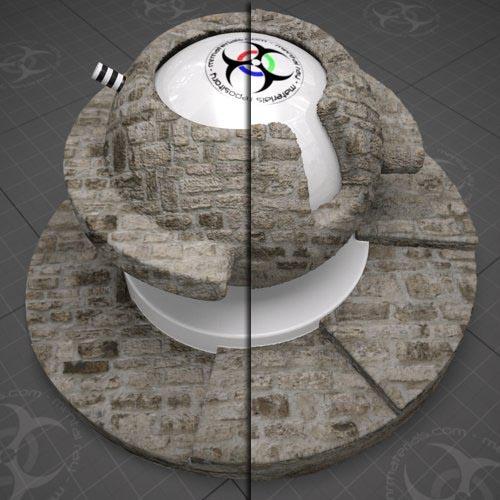
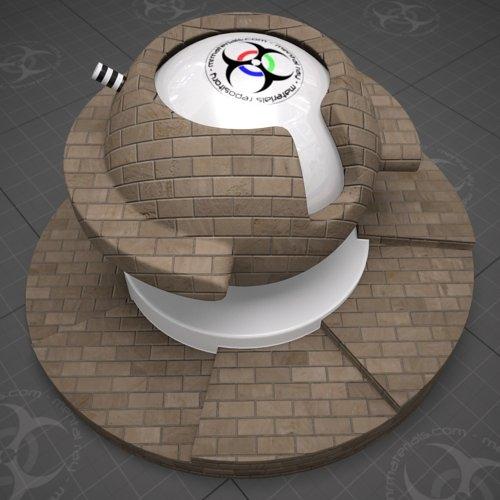
Example test renders with displacement maps I've made using CrazyBump:
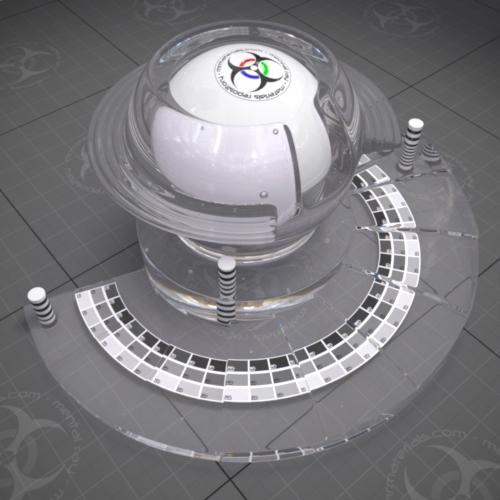
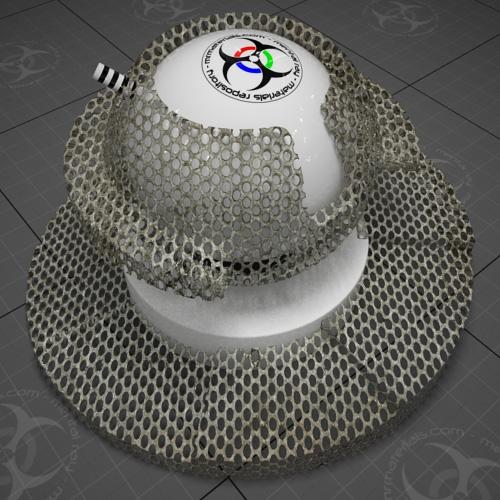
CrazyBump example 01 (click to enlarge)

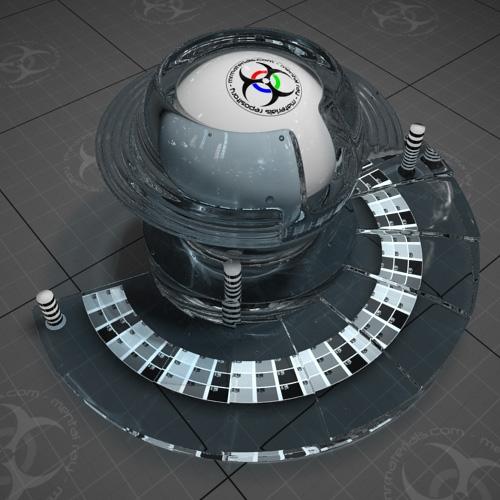
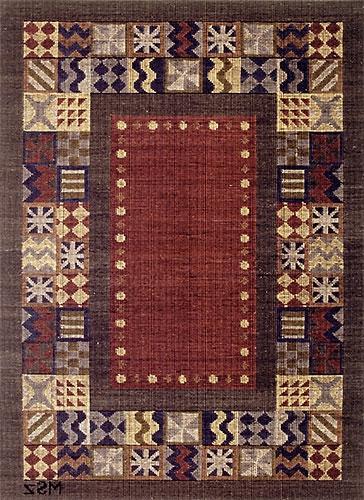
CrazyBump example 02 (click to enlarge)

CrazyBump example 02 (click to enlarge)

Also, there's a new Ivy generator plugin that works directly inside 3dsmax here:
http://guruware.at/main/index.html
GW::Ivy (click to enlarge)

Blog entries may be discussed in the 3DA forums HERE