


Managing color bleed (when using final gather)
This is sort of a continuation on my last entry. In that post I spoke about how color bleed is a perfectly natural phenomenon and not something wrong with your rendering application (mental ray in this case).With that being said, there are many people out there that want to have control over this natural effect. So how exactly does one control color bleed? Well as with anything in 3ds Max there's probably a dozen ways to accomplish this task...I'm going to discuss one easy (IMHO) method.
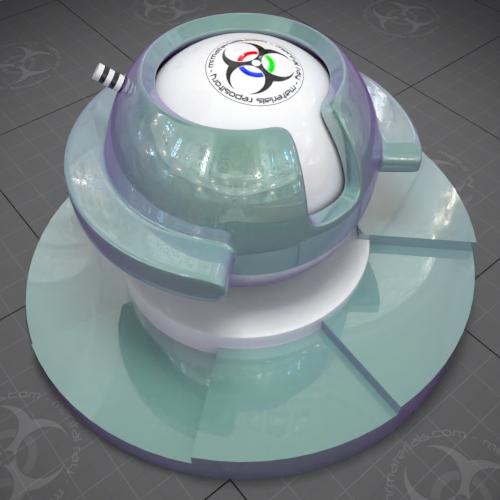
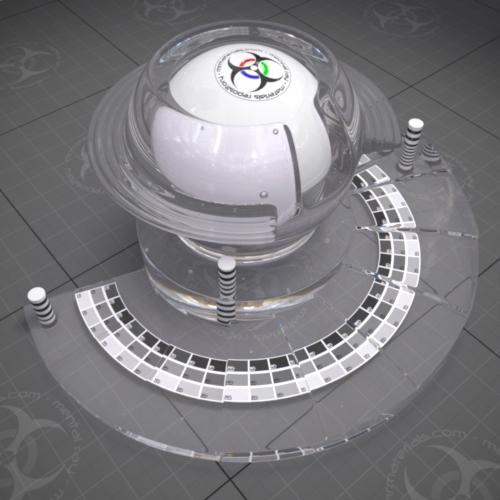
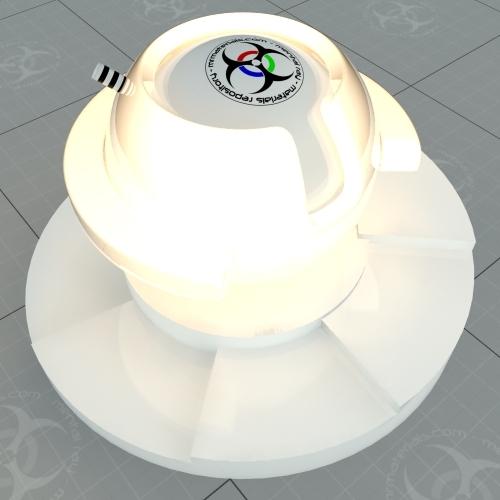
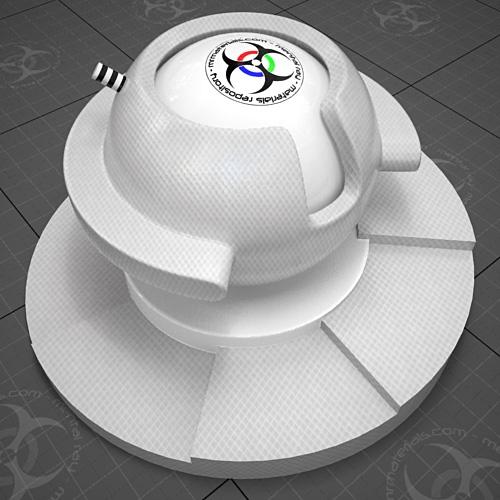
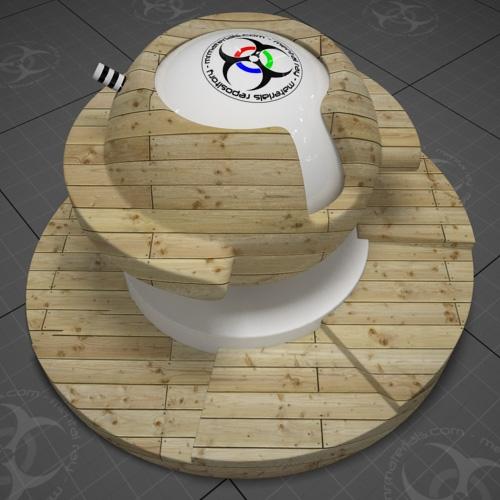
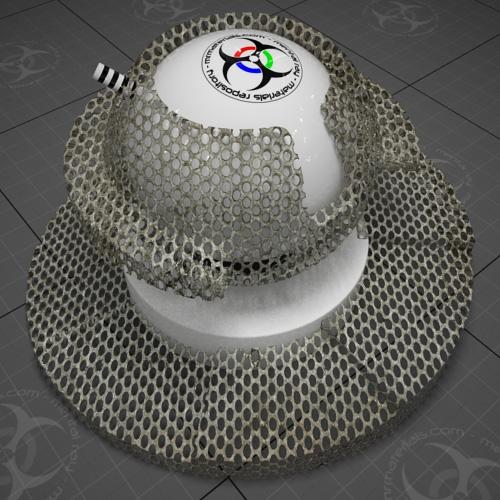
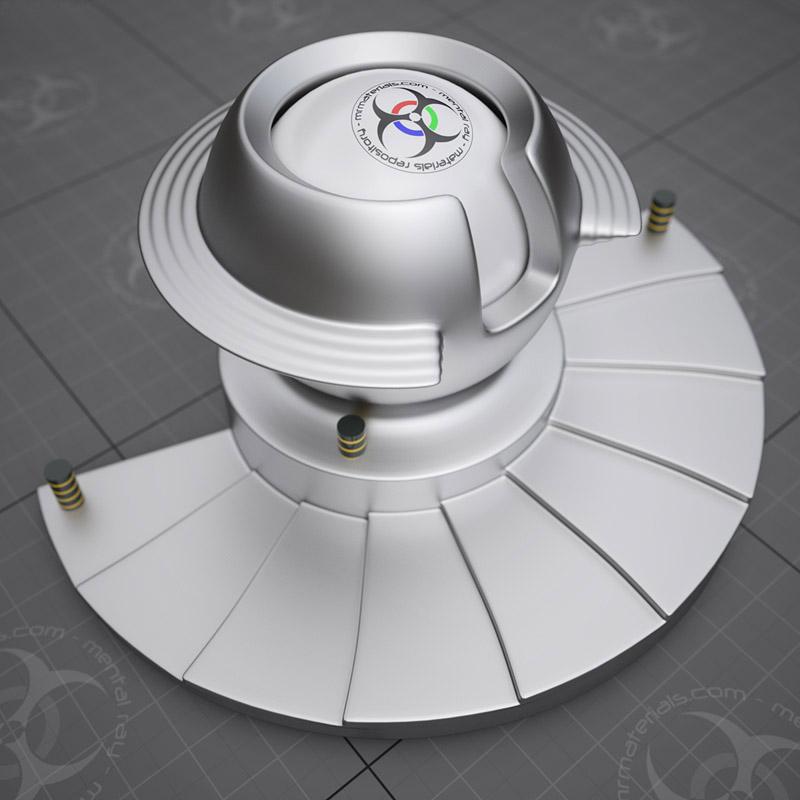
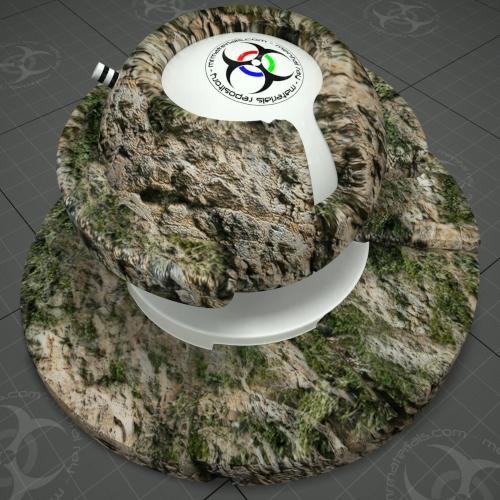
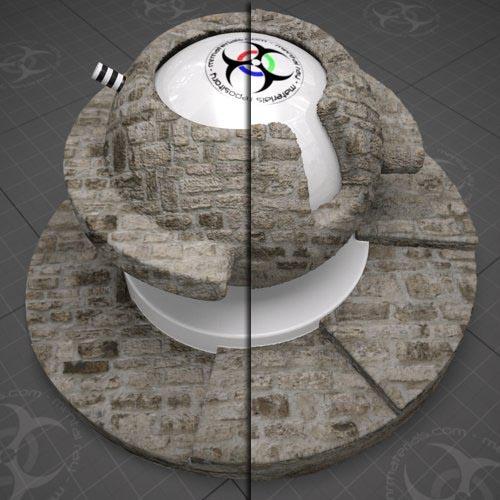
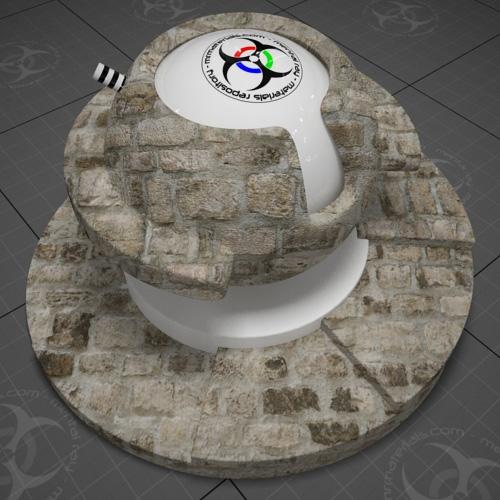
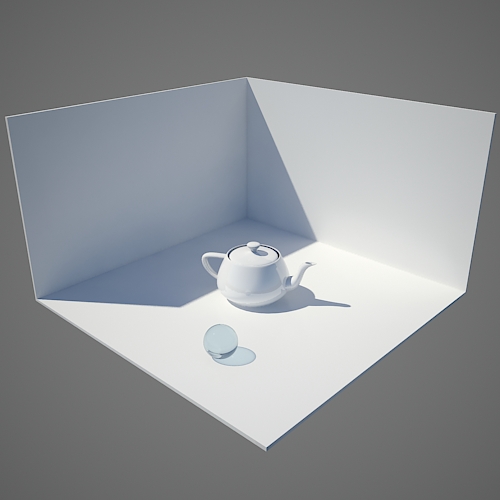
Here's the start scene which contains primarily white A&D materials, except for the one A&D glass orb and of course final gather enabled:
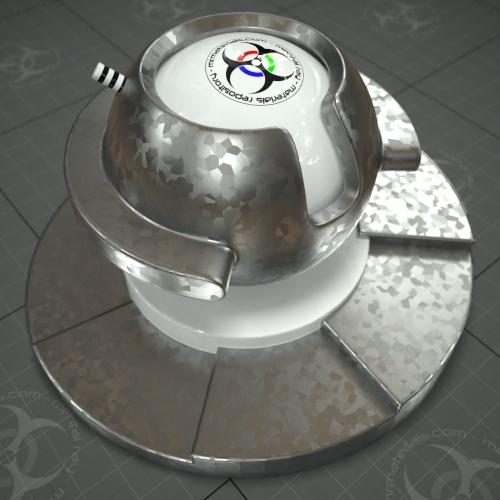
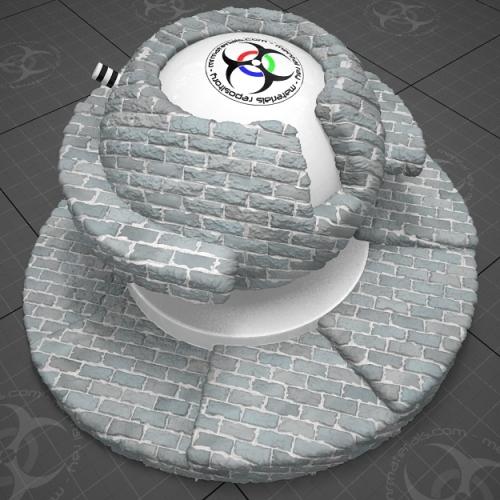
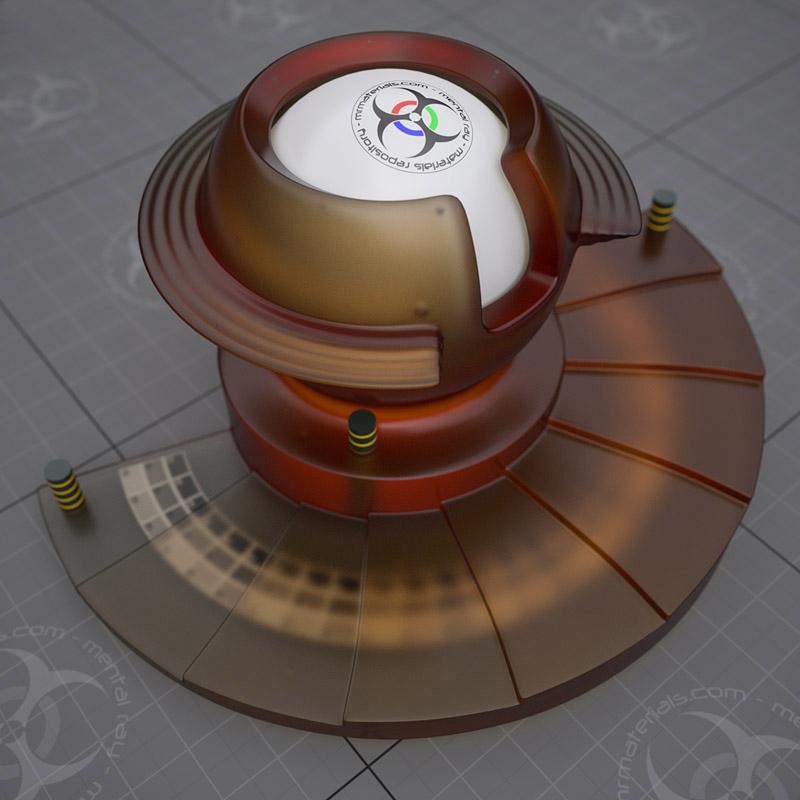
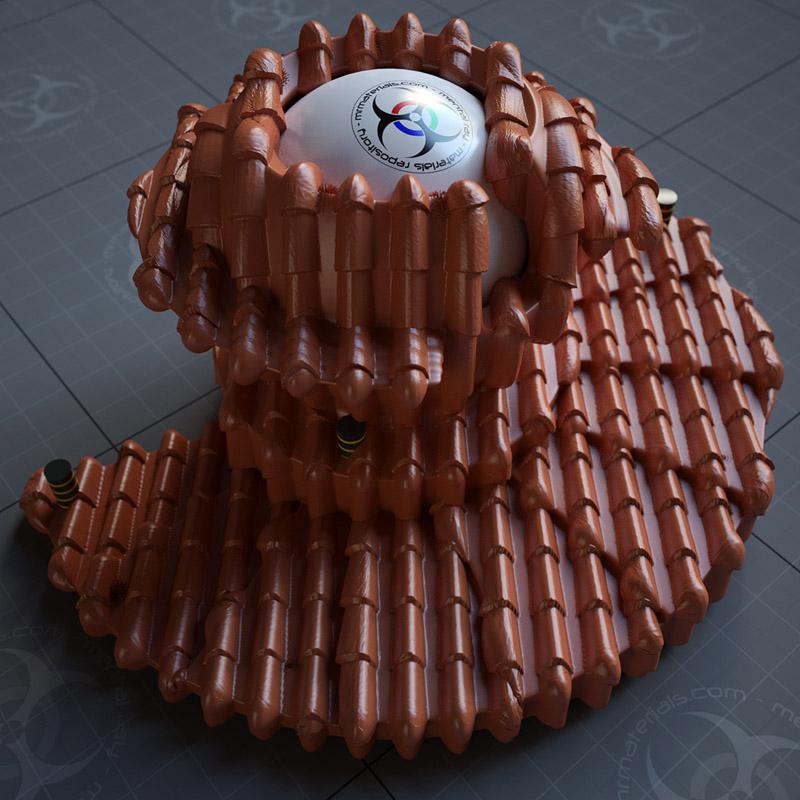
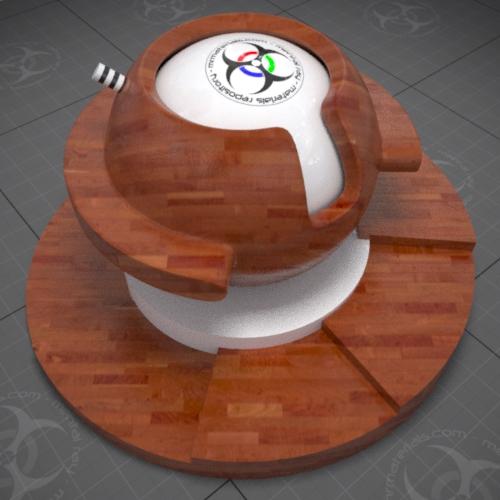
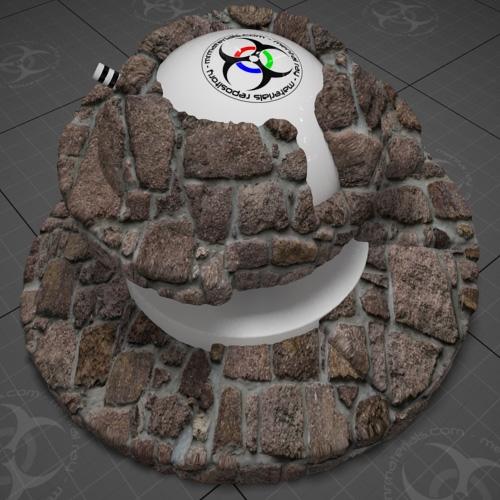
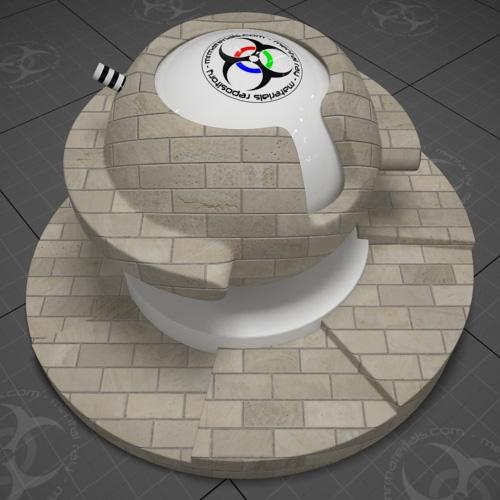
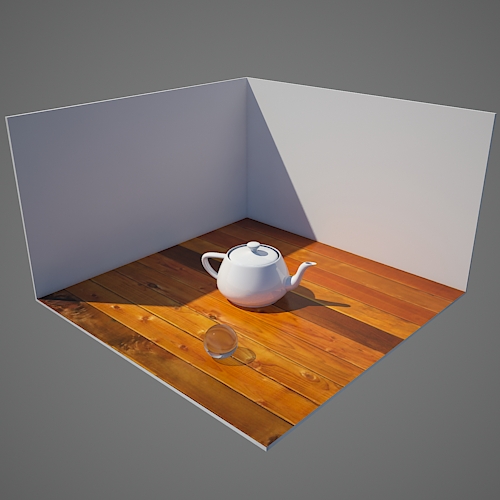
Now if you apply a saturated texture to the floor you'll notice the "bounced light" from the floor "bleeds" onto the walls. They are no longer white, instead they have picked up an orange tint from the wood floor texture:
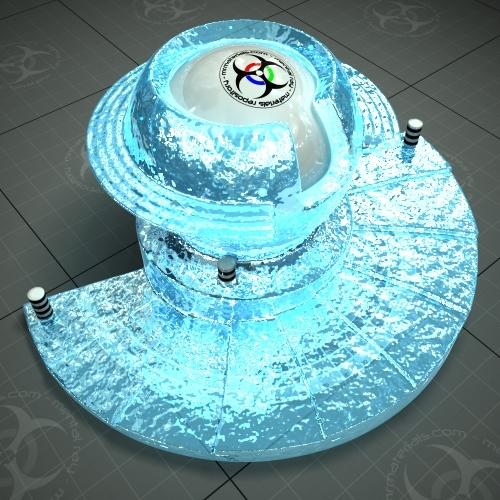
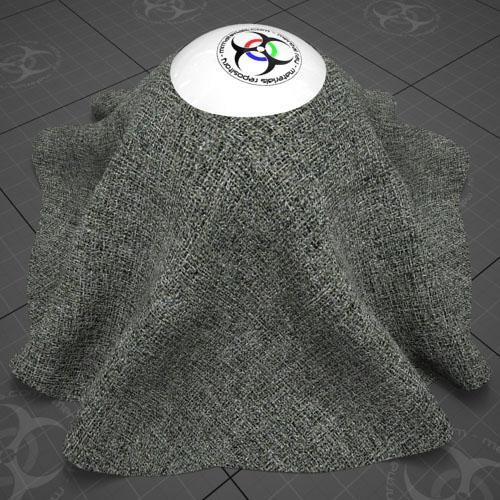
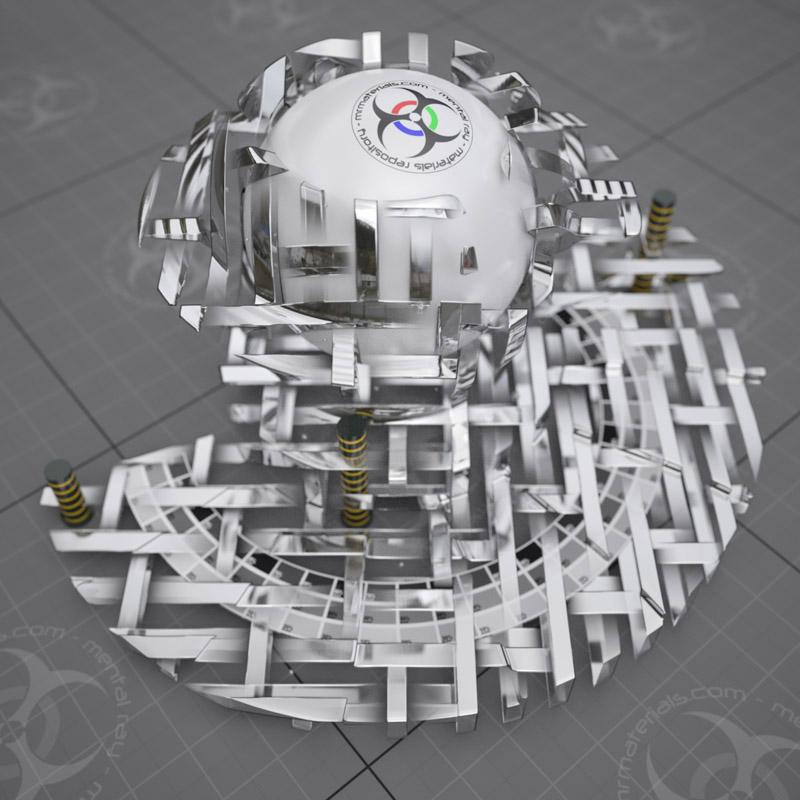
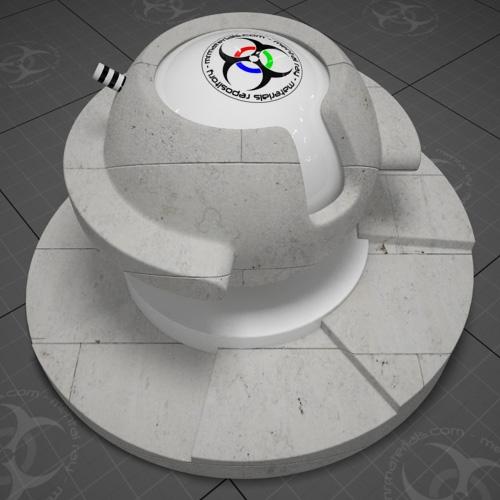
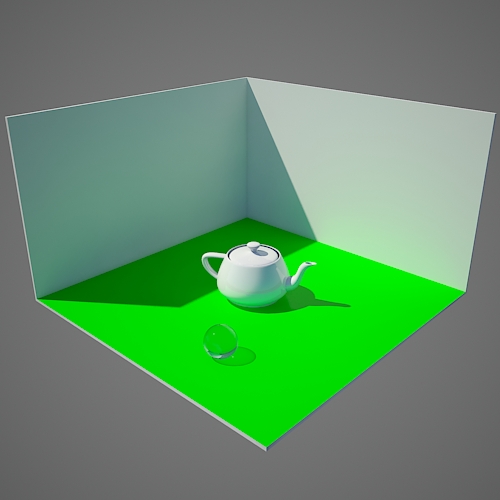
Just in case the effect isn't too obvious in the previous render, here I used a bright green floor instead of the wood texture:
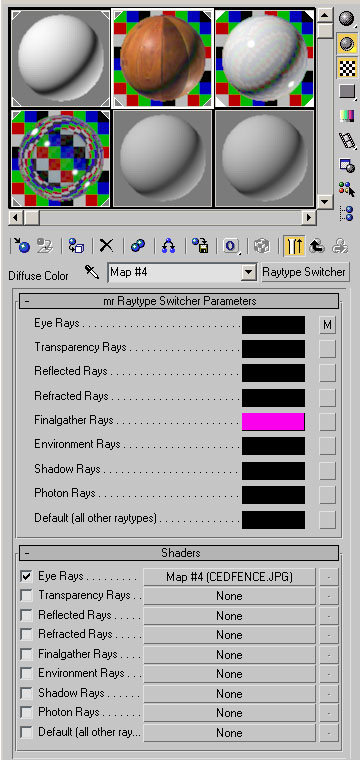
Solution? Drop a Raytype Switcher into the diffuse map of an A&D material to manually control how the material & FG "play" together. There's a few raytype switchers in the production tools included in 3dsmax 2008. If you haven't done so already, you'll need to unhide them by opening your production_max.mi file with your favorite text editor and placing a pound sign (#) in front of the "hidden" tags to enable these shaders/materials.
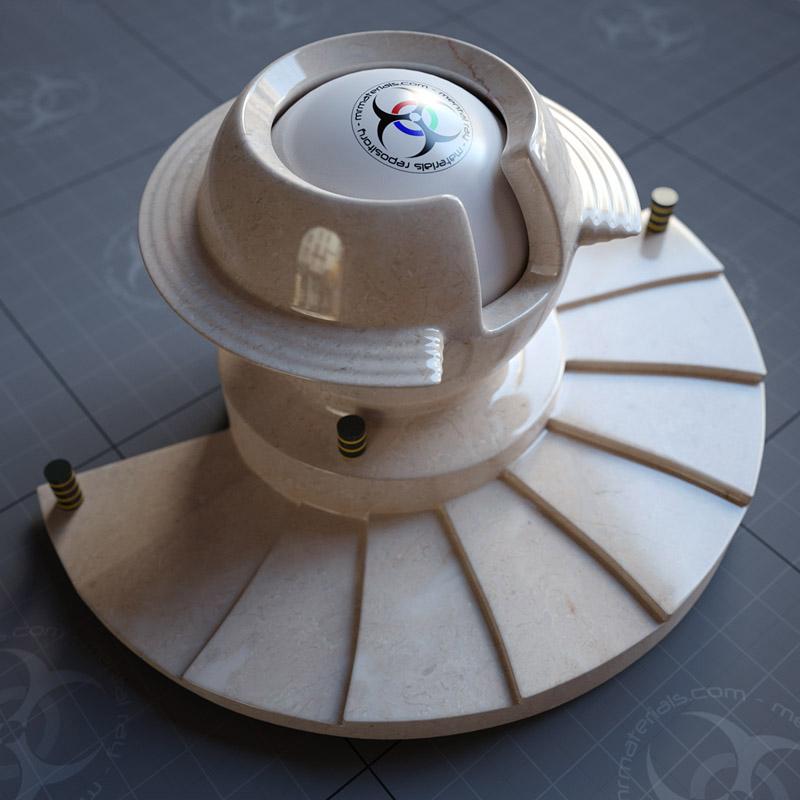
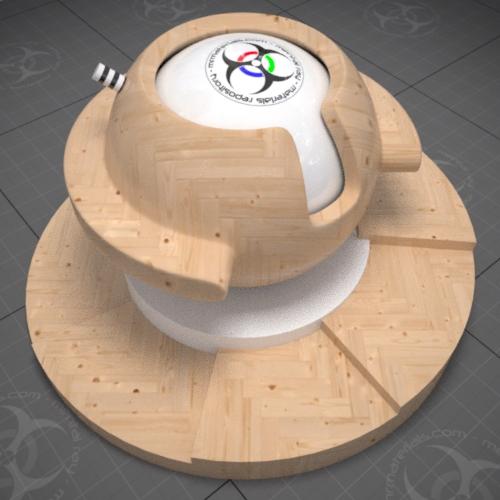
Once you have enabled the production shaders you can add a "mr Raytype Switcher" to the diffuse map of an A&D material. Then add your bitmap to the "Eye Rays" map, or of course you can use the color swatch if you're not using a bitmap. Then in the "Finalgather Rays" map assign a neutral color (I used an off white color). This is what changes the way the material interacts with final gather. By using the off-white color my wood floor texture will now 'bounce' that off-white color instead of the wood texture color.
(click to enlarge)
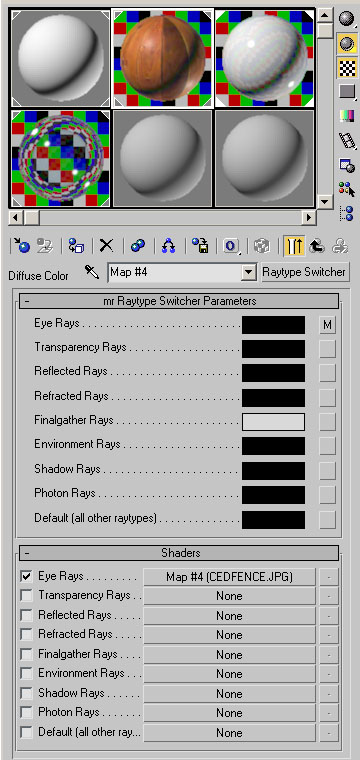
NOTE: You don't want to use a pure white color in the "Finalgather Rays" color swatch of the Raytype Switcher. If you do it will look un-natural.
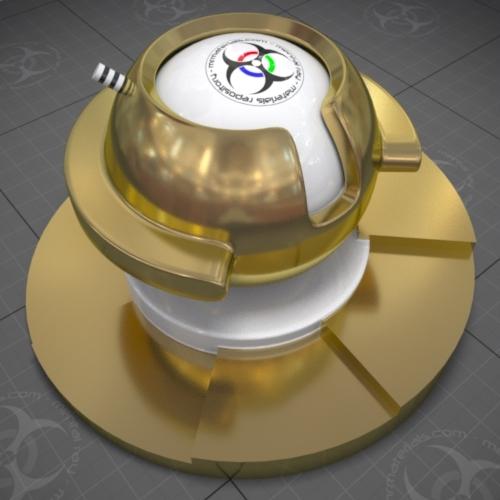
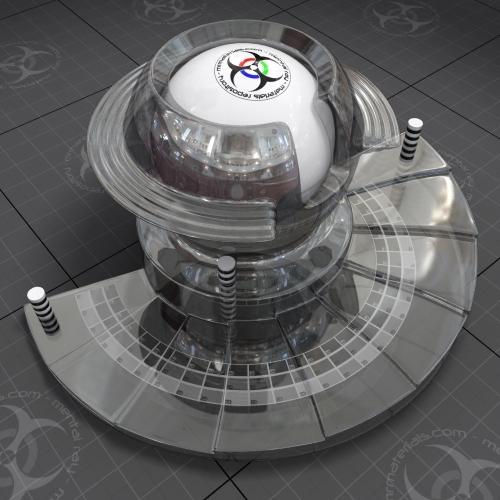
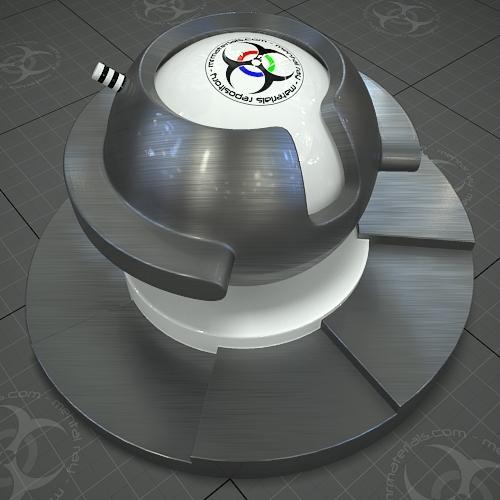
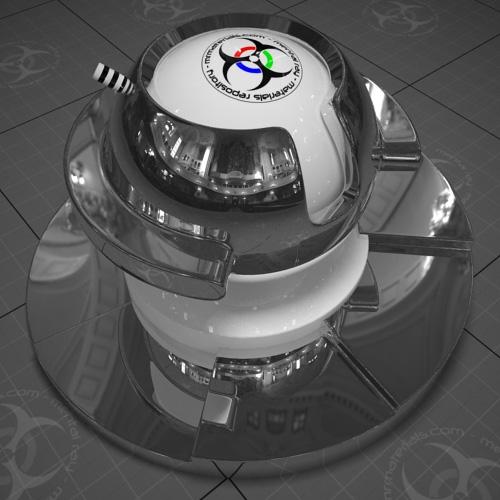
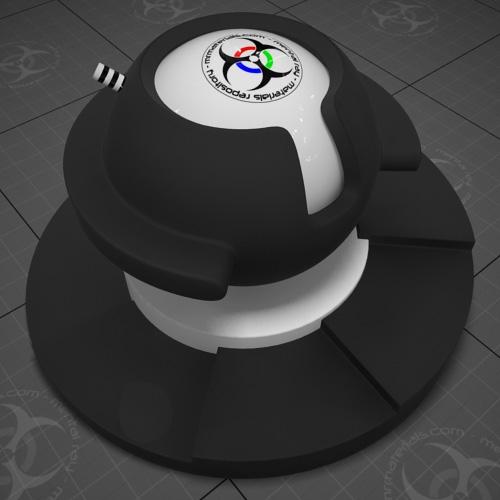
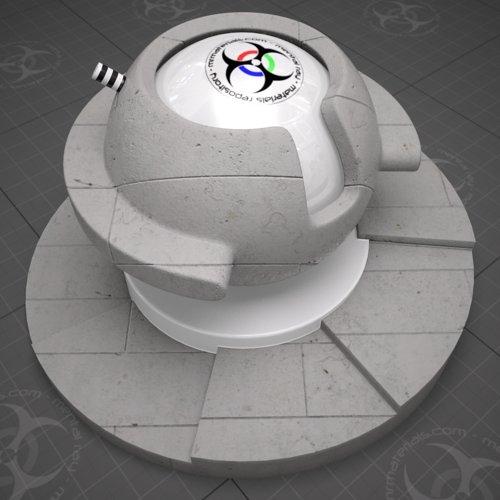
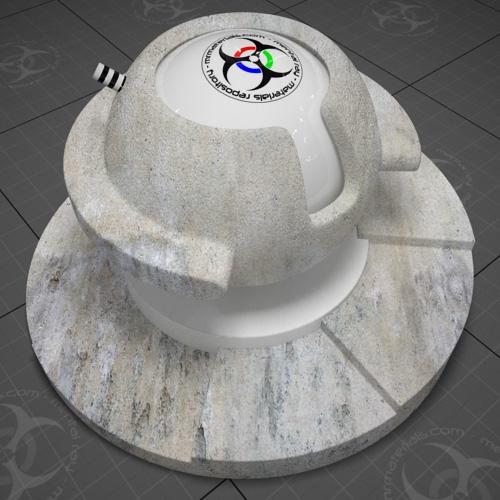
Here's the resulting render:

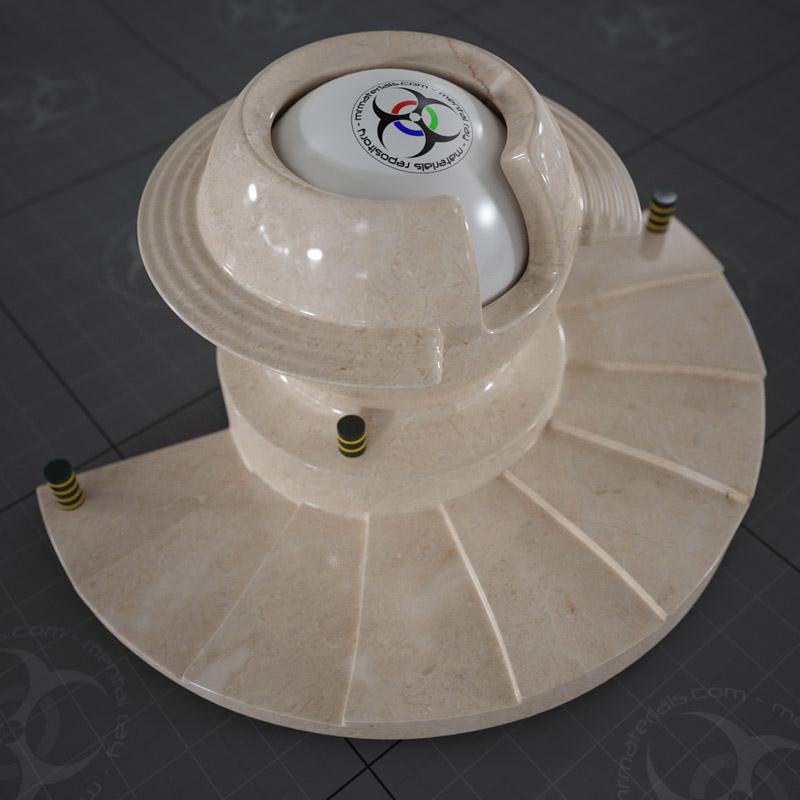
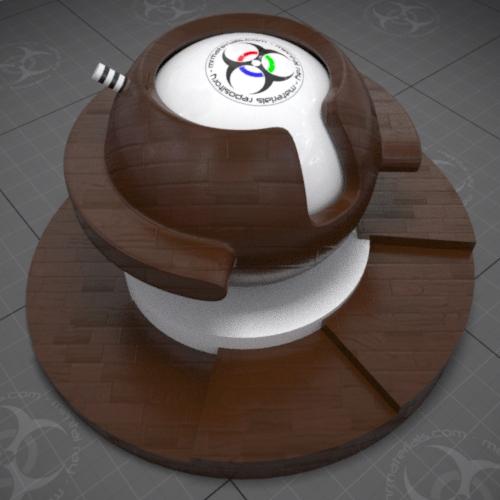
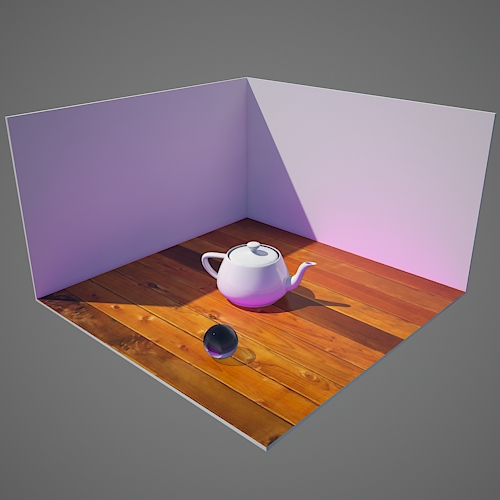
No more dingy walls due to color bleed. Just to illustrate this further, I'll add a bright pink color to the "Finalgather Rays" map and see what happens:
(click to enlarge)
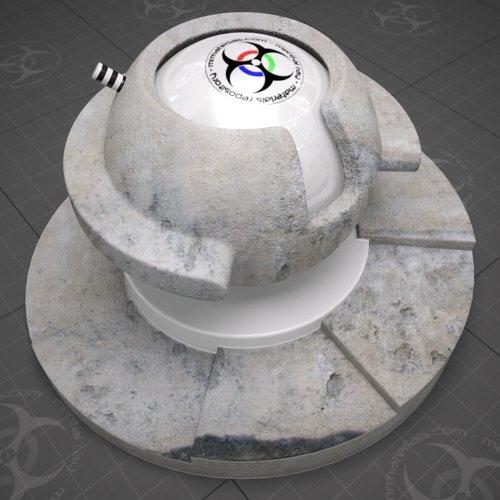
Resulting Render:
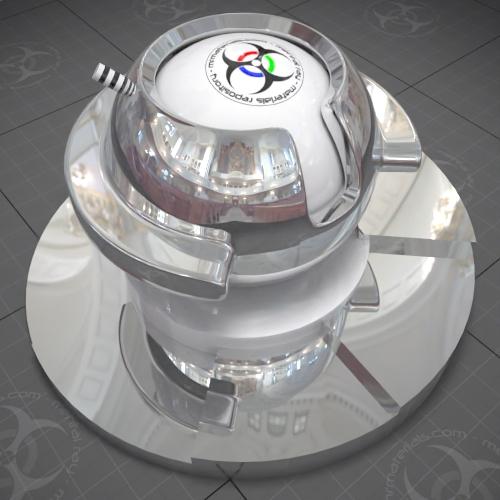
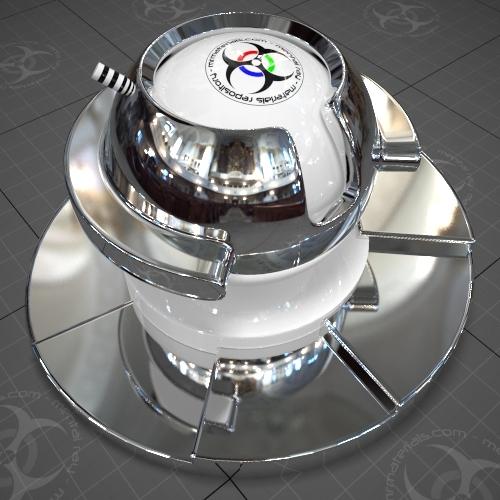
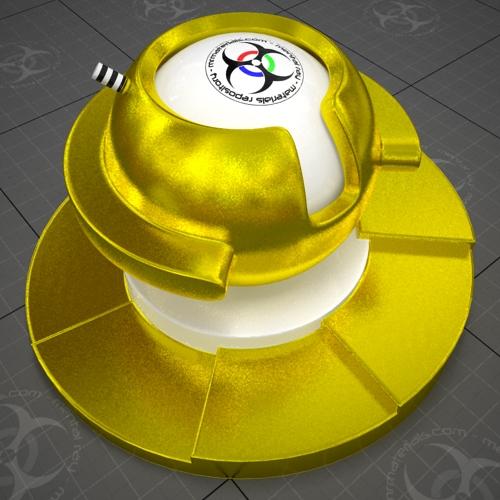
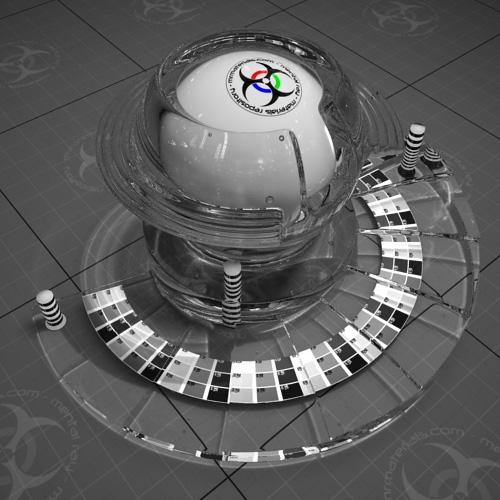
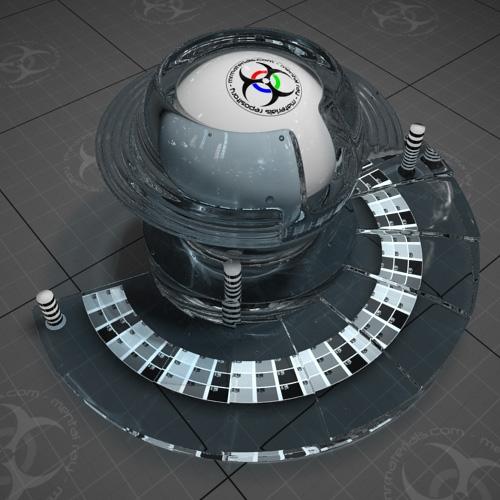
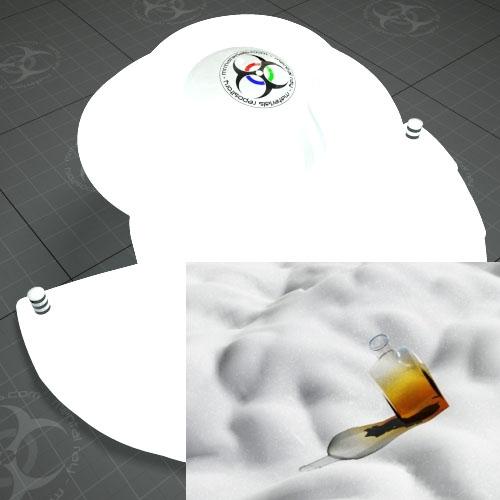
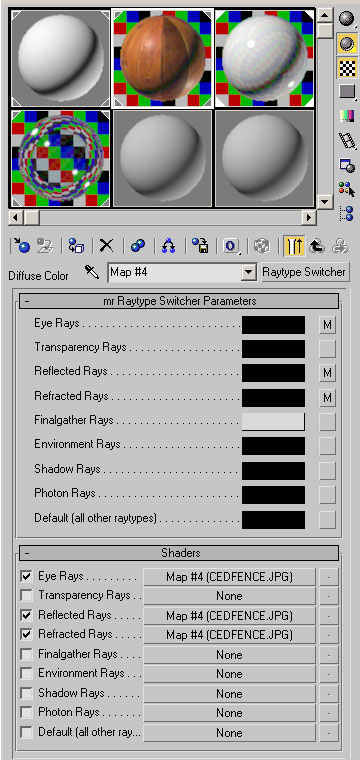
Now, you may be saying hold on there sunshine...your glass sphere turned black! Yes I know. If you noticed there's a lot of options on the Raytype Switcher and all the color swatches are set to black by default. So, since I have glass in this scene I need to define the refraction color/map. But also the teapot is reflective, so I need to define the reflection color/map as well. In this case I simply instanced copied the Eye Ray map to those missing maps. Here's the details:
(click to enlarge)
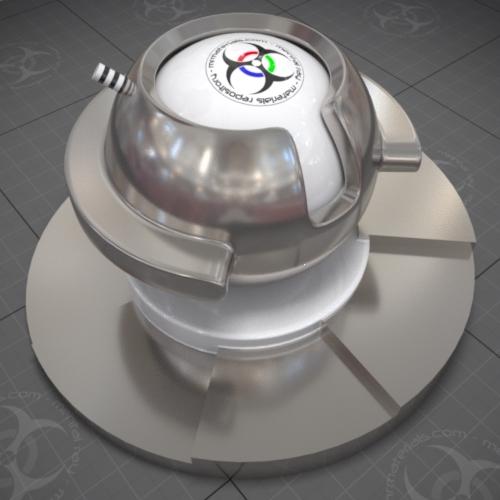
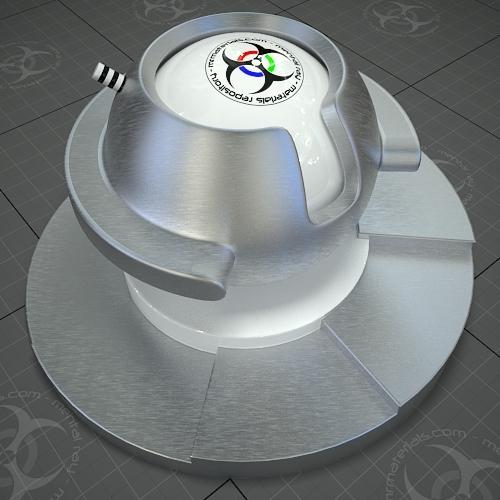
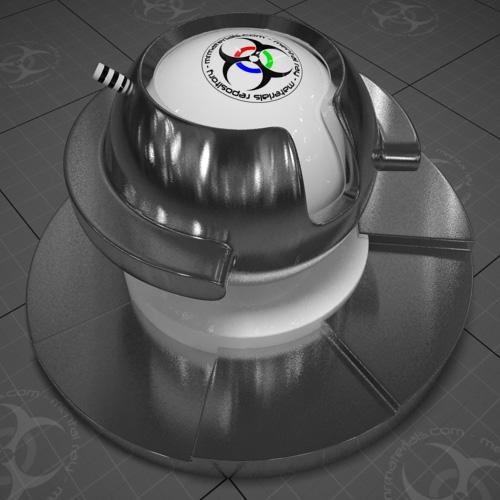
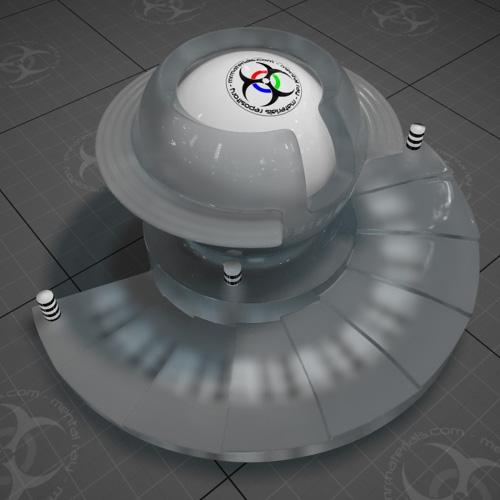
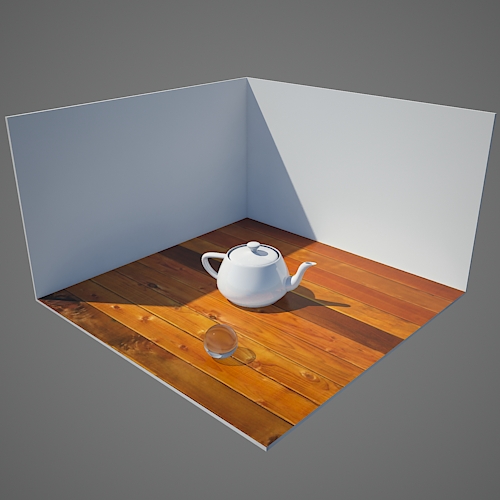
And of course the associated render with the final settings:
That's it really, nothing terribly complex. In closing, here's the completed file in case my ramblings here were confusing:
/images/stories/JeffPatton/Blog/color_bleed101.zip Blog entries may be discussed in the 3DA forums HERE